Every so often I get a little surprise in my workshop. This week it was discovering that this long 9-drawer dresser I was planning to refinish was coated in a clear wax. And for those of you that have been following along, you know that you cannot paint over wax. So here’s a tutorial on how to paint waxed furniture; or shall I say… how to remove that wax and paint the furniture.
.
A friend asked me to paint this pine dresser so that it matched the decor in her new home. She was going from warm color tones (as you can see in the photo), to whiter, lighter, and brighter.
Isn’t it great?!!
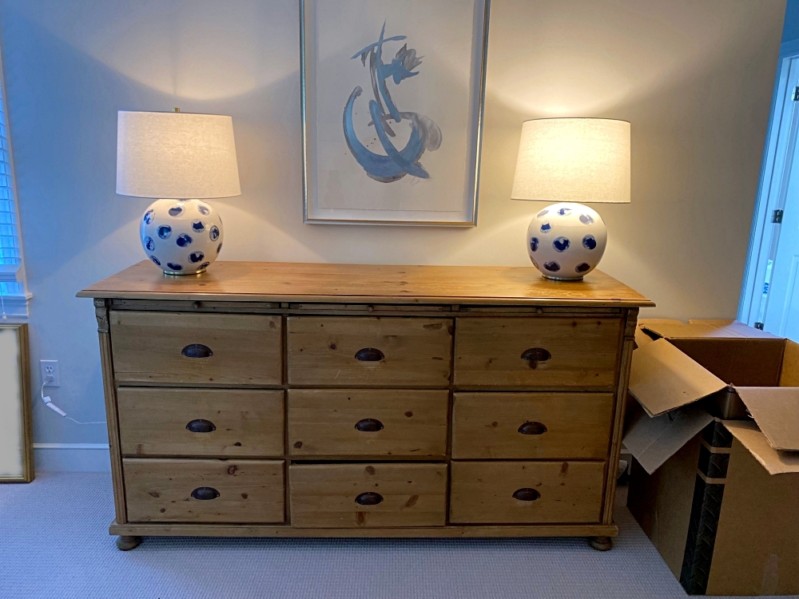
Are you seeing what I’m seeing?
Solid wood.
Straight lines and a super versatile shape.
Slight, but not overly-done decorative molding on the two ends.
Nice, deep drawers that could really be elevated with some new, sparkly hardware!
.
Identifying Wax on Furniture
The one thing I could not see in the photo above, was that this dresser was coated in a clear furniture wax. Wax is an oil-based product which prevents other products from adhering to it long-term. That’s why it’s so important to know if a piece of furniture has been treated with wax before you add any other product – because it will not stick!
I have primed and then painted over oil-based stains, but the difference is that the stains fully dry. A wax sits on top as a thick layer and while it may seem to dry and harden, if you apply heat or set it in direct sunlight, the wax will still soften.
It’s always difficult to identify if a what type of clear protective topcoat someone applied to the furniture, but I have three ways you can most often identify whether that topcoat is a wax.
- #1: Scrape your finger hard across the surface. If any paste (or what may look like dirt), gathers under your nail, then the surface has wax on it. If you’re still not sure, move on to #2
- #2: Set the furniture in direct, warm sunlight for a while or use a hair dryer to warm the surface, then repeat item #1.
- #3: Start sanding. If your sandpaper starts to gum up, the surface has wax on it. In this case, after a very short time of sanding the sandpaper will be covered in smooth, discolored splotches that cover the rough sand grit of the paper.
If you discover your furniture has a protective topcoat of clear wax, continue reading to learn how to remove the wax prior to painting…
.
Supplies
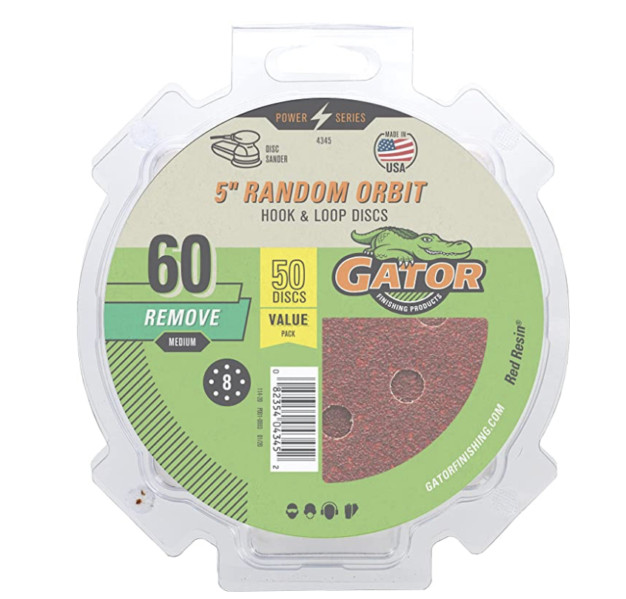
- Electric rotary sander
- Round sanding discs
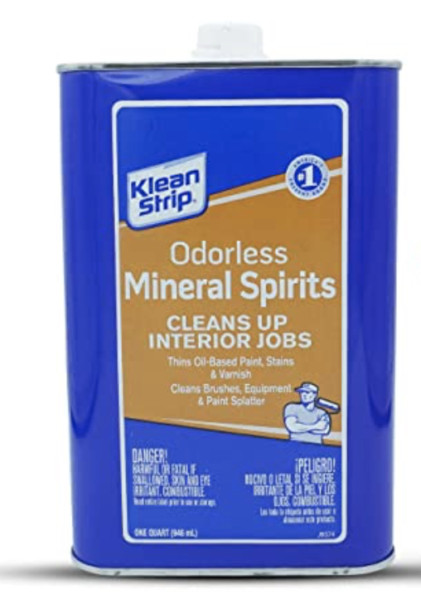
- Odorless Mineral spirits
- Wood filler
- 120-grit sandpaper sheets
- 150-grit sandpaper sheets
- Plastic scraper tools
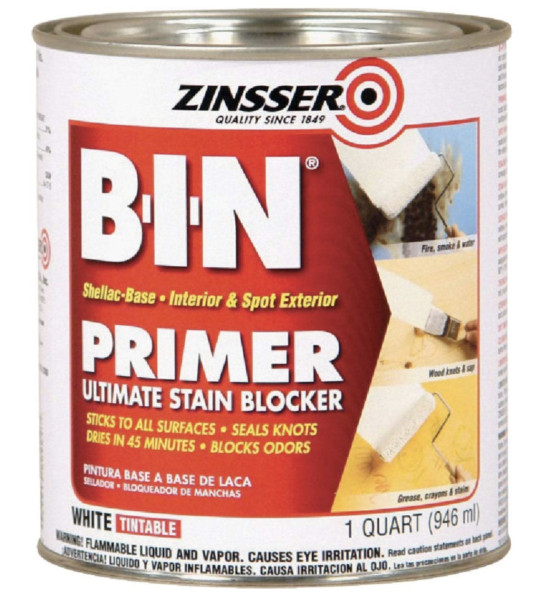
- Shellac primer
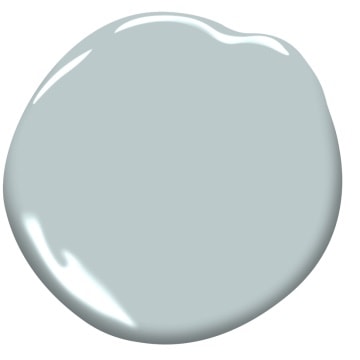
- Enamel paint (color: Benjamin Moore Smoke)
- Water-based clear topcoat
.
Removing the Furniture Wax
If you find that your furniture has a clear paste wax…. STOP!
Abandon ship! Run for the hills!
I’m joking. But you will have to get your muscles ready, because what you thought was going to be a quick sanding before you apply primer and paint, just turned into a heavy-duty workout.
You HAVE TO remove EVERY BIT of wax from the furniture before priming or painting or the paint will peel off; maybe not right away, but it will peel in a few weeks. Here are the steps:
- STEP 1: Brush Odorless Mineral Spirits onto the surface. Let sit for a minute then scrub with a cotton rag (aka: old t-shirt). Be sure to wipe EVERY spot you plan to paint. Wear protective gloves.
- STEP 2: Repeat Step 1
- STEP 3: Use a small tool to scrape as much wax out of the moldings and corners as possible. If you use a metal screwdriver, be careful not to damage the wood. A sturdy plastic tool would be better. Like THIS one
- STEP 4: Repeat Step 1
- STEP 5: Sand the furniture with an electric rotary sander with a low-grit sandpaper. I use 60-grit. Note: This is only advised if your furniture is real, solid wood.
- STEP 6: Repeat Steps 1 and 5 as needed
.
.
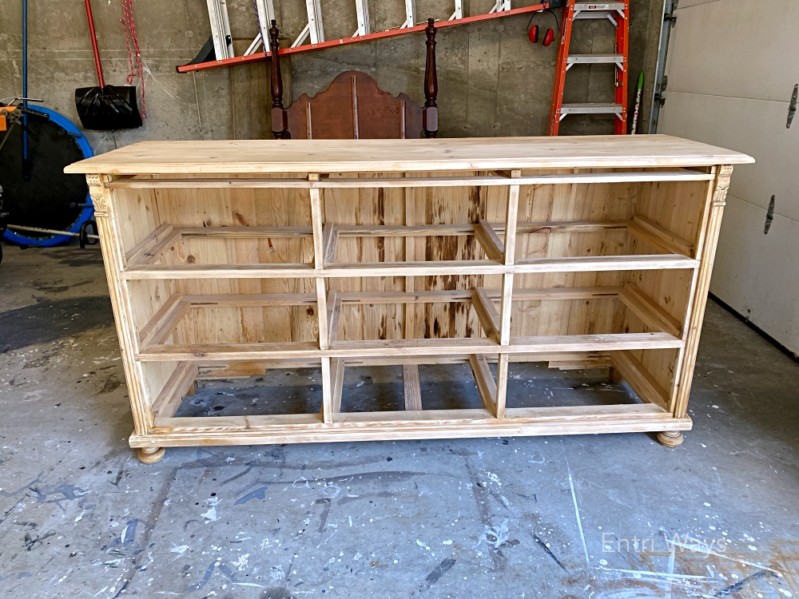
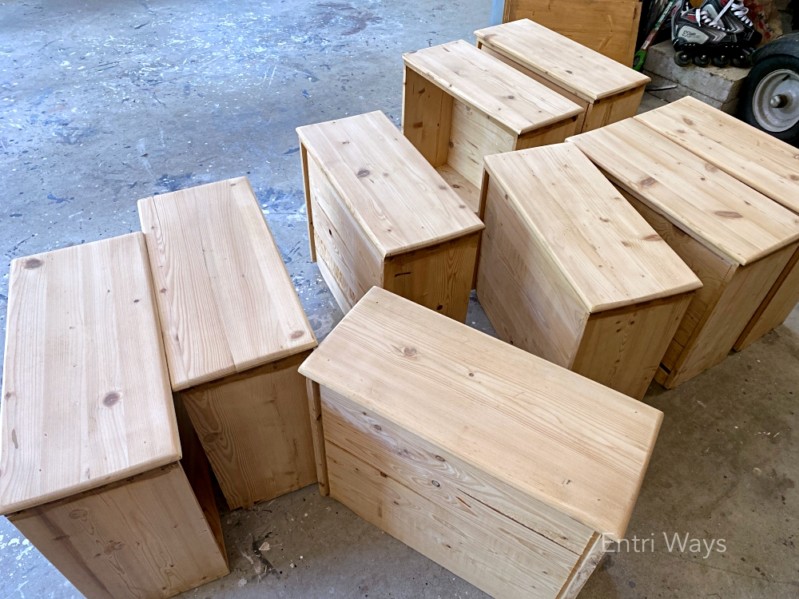
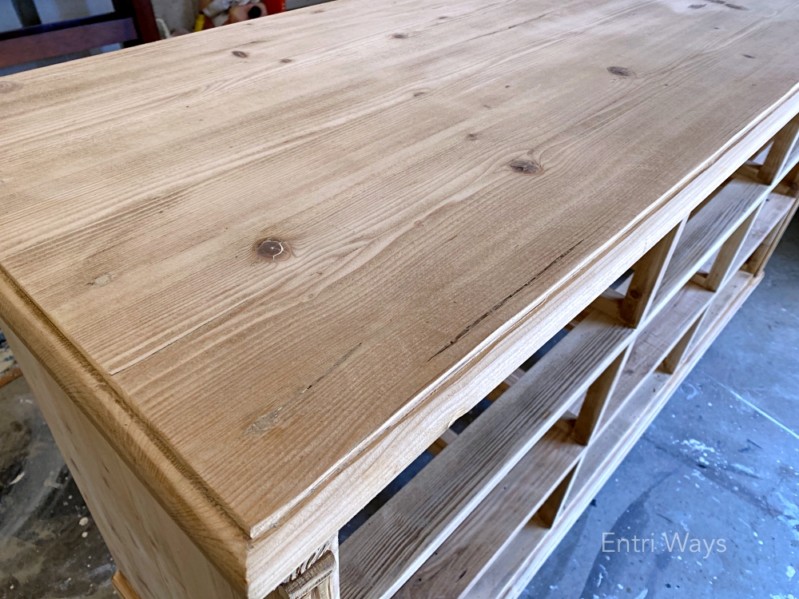
Six hours later, all of the wax was removed (I hope).
.
Fill Dents & Cracks With Wood Filler
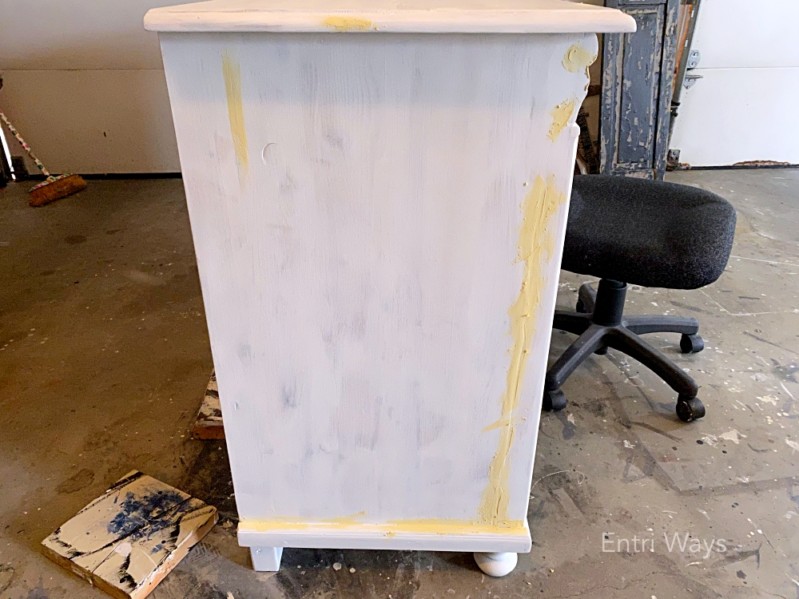
Now that wax has been removed, it’s time to prep the wood for paint. Pine wood is very soft which means there were many, many dents in the surface. Some of these dents sanded smooth with the sander, but many needed to be filled with wood filler.
There were also 3 large cracks in the wood, so wide that the light came through the wood. These also needed to be filled with wood filler.
Even before you prime the furniture, fill any dents and cracks with wood filler.
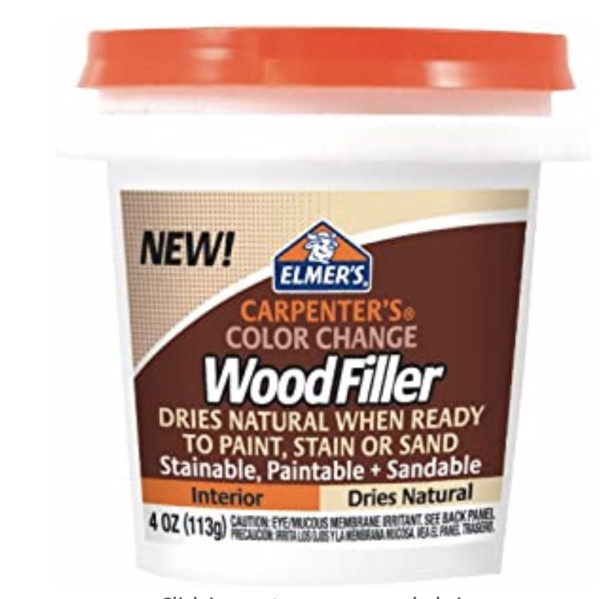
I use THIS wood filler and buy it in the smallest container because when an open leftover container of wood filler sits on the shelf for an extended period of time, it dries out.
Pro Tip: Store containers of wood filler in a sealed plastic bag to extend the life of the product.
Wait a few hours and then sand the wood filler smooth.
.
Prime the Furniture
After the first application of the wood filler, I add the first coat of white primer because when the wood is white, it is easier to identify any areas that need to be filled again. You will even see several more dents and cracks that you missed filling the first time around.
This dresser was made of pine wood with lots of knots that needed to be sealed. If not sealed, the knots would bleed through the light colored paint.
A regular primer will not seal the knots well enough. I use THIS shellac primer to seal the knots and prevent any bleed-through.
The shellac primer has an extremely strong odor. I only use it in my workshop with the garage doors open. I also strongly recommend a P-100 rated vapor mask like THIS one.
Pro Tip: Do not work directly from the shellac primer can. Shake the shellac primer very well then pour a small amount into a separate plastic container. This primer is very thin and dries very quickly.
.
.
Apply Second Coats of Wood Filler Then Primer
Fill any dents & cracks with wood filler again. Let dry. Sand smooth.
Brush on a second coat of primer. Even though the primer dries within minutes, I always let this second coat of primer dry overnight to ensure maximum adhesion of the primer to the wood.
.

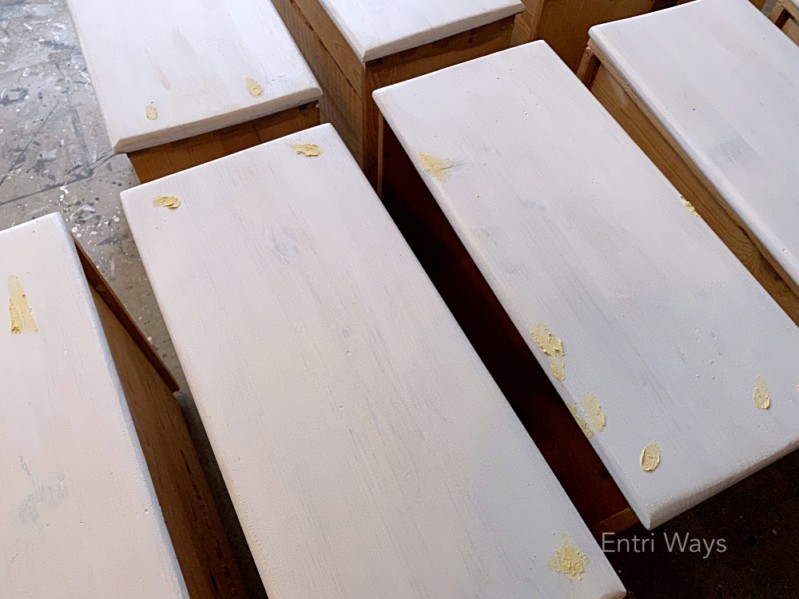
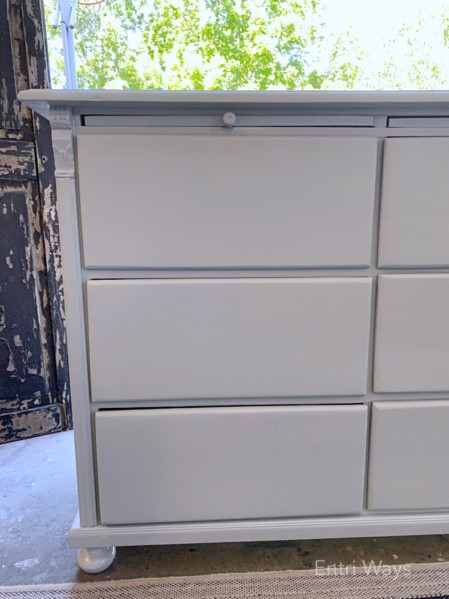
Here’s how the dresser looks after the second coat of primer dries…
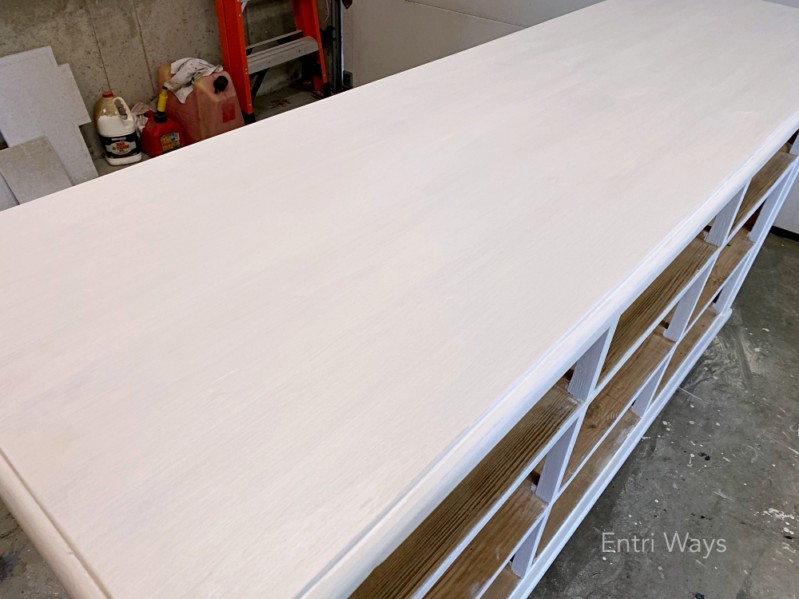
Paint !
Finally… the fun part! Up until now the furniture always looks worse. But you will finally get to see your vision coming to life when you add the paint.
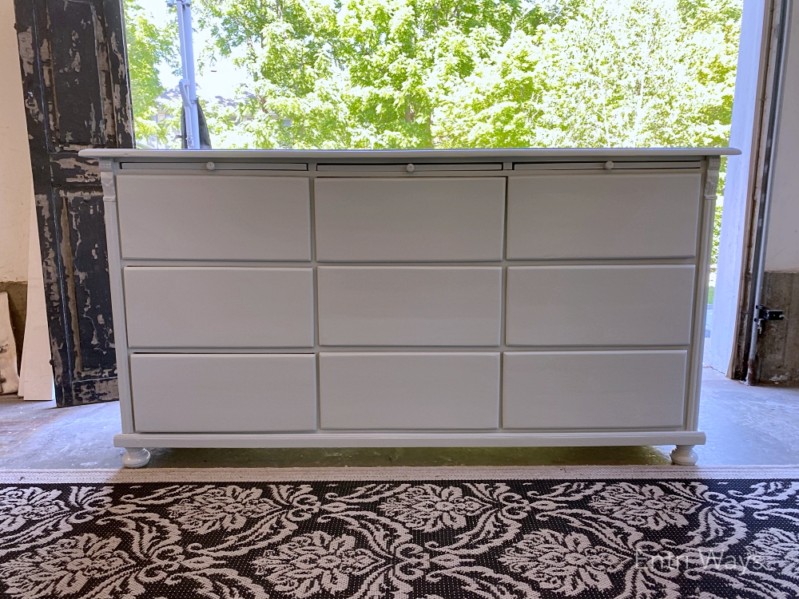
At this point you could use any type of paint: milk, enamel, latex, or chalk. I chose to use enamel on this dresser.
Brush on 2-3 thin coats of paint. Allow to properly dry between coats (time varies by paint type). Also lightly hand sand the surface between coats using 120 to 150 grit sandpaper (depending on paint type).
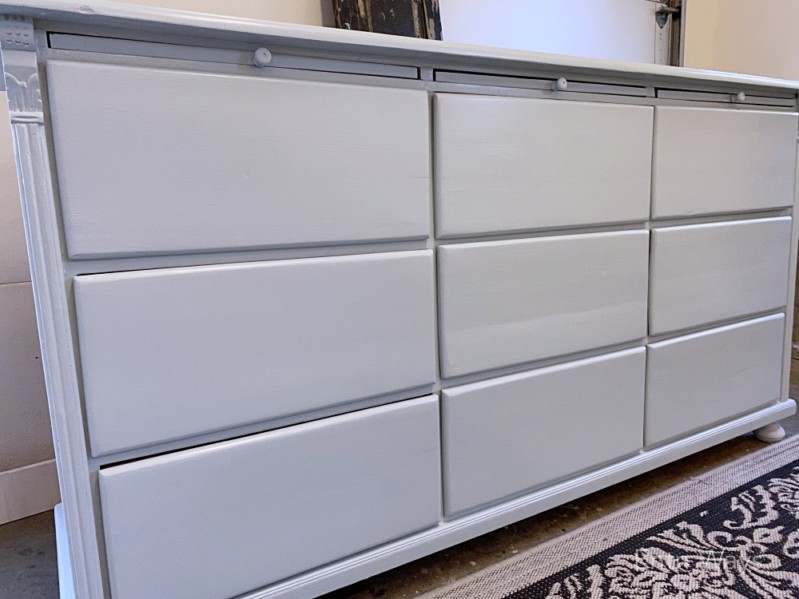
This dresser was painted in Benjamin Moore’s color Smoke blue.
.
.
Apply a Clear Coat
The clear coat is optional. There are several situations in which I would opt to apply a clear topcoat.
- If the paint has is too matte or flat and I want more sheen, I use a satin topcoat.
- If the paint is too glossy and I want a duller sheen I use a flat topcoat.
- Any sheen topcoat will make dusting the surface easier.
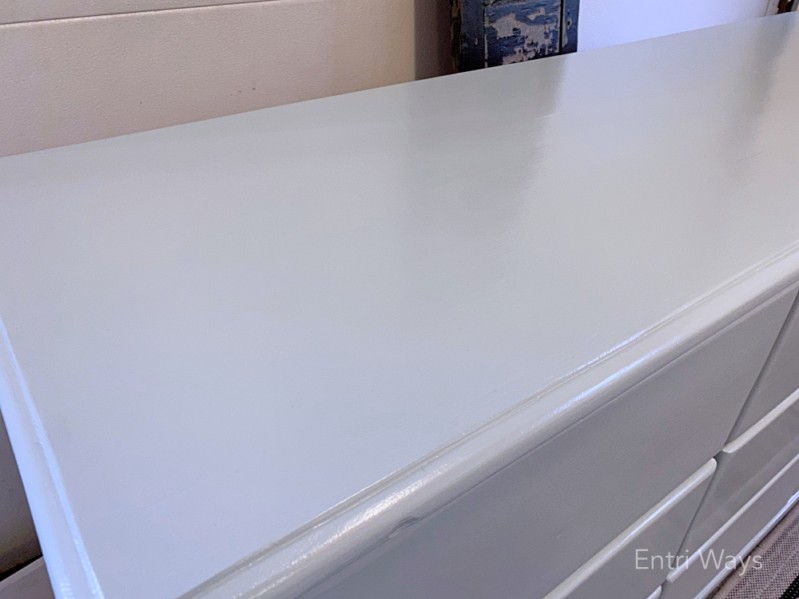
- Any sheen topcoat smooths the surface.
- Any sheen topcoat protects the surface, although the higher the sheen, the greater protection.
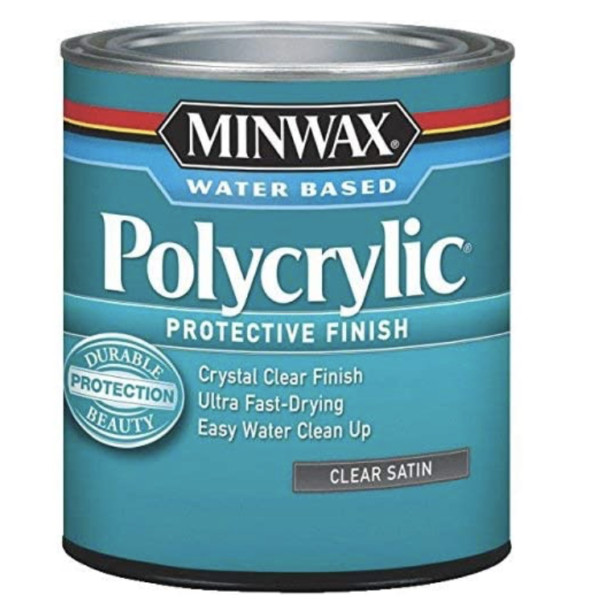
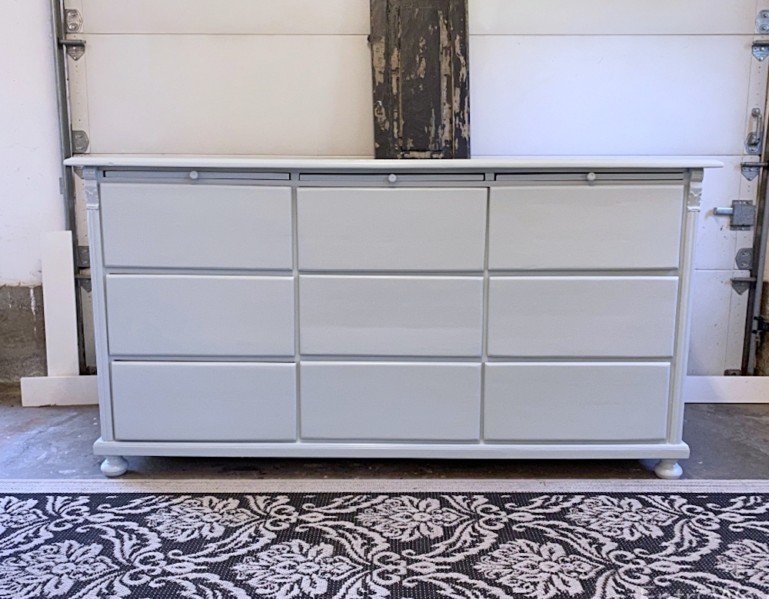
For this particular dresser, I applied a water-based, satin topcoat.
.
.
.
My friend will be adding her own hardware to the drawers. Once done, hopefully she’ll share a photo with us. I love to see how hardware transforms the look of furniture!
.
.
.
.
Disclosure: This post contains affiliate links to products I use myself.







Leave a Reply