For many of you working from home is a new experience so I wanted to offer my best tips to create a home office in which you actually enjoy working. Productivity isn’t just about hunkering down, burying yourself in your laptop, and ignoring your environment. Trust me. You will be far more productive and happy if you’re working in a pleasant environment.
Let me first say that my home office is not perfect. It’s a mish mash of recycled furniture. And I would like to eventually hang curtains, lay down an area rug, and buy an ergonomic desk chair. Well, the desk chair is turning into a necessity and will likely come sooner rather than later.
But let’s face it, when you have 3 kids, two in college, one still playing select hockey and signing up for a rather expensive drivers eduction class, and a new puppy that requires a newly installed electric fence and training classes, sometimes these things have to wait.
As the saying goes my friends… pick your battles. Or in this case… pick your expenses.
Do you know what my office is though? It’s comfortable. It’s free of clutter and visual distractions – with the exception of the occasional dog walking by the window.
My office is a place where I can focus, without looking at mounds of paperwork to be filed or bills to be paid. And it’s been like this for months because I took just a one day to re-work this space a few months back.
We’ve all been asked by the federal and state government to stay home more for the next few weeks and to work from home. Why not make this an enjoyable experience and take a few hours to re-work a space in your home where you can work comfortably. I’m going to show you how without spending a ton of money on new furniture or organizing supplies (although I will make suggestions in case you do need a few).
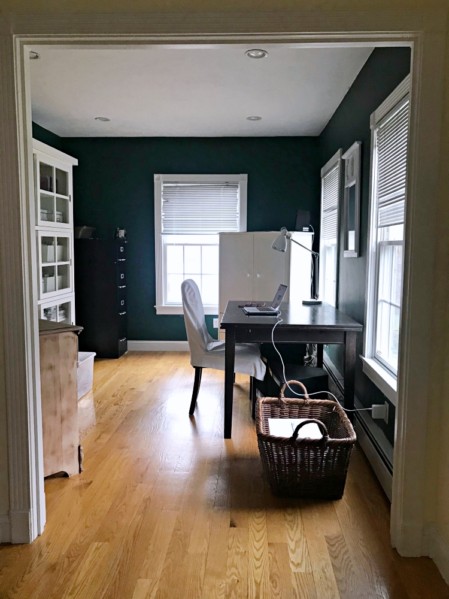
Welcome to my home office. This is the room in my house where I write, plan, work on bookkeeping, and occasionally sew curtains, valances, and modern sidelight window panels. It’s where I think creatively!
Up until a few months back, I found it hard to work in this room. It felt overcrowded with furniture which made it feel closed in and confining. But do you know what? All it took was moving the furniture around.
Believe it or not, I even removed a two-drawer lateral file from the room and replaced it with an even larger 3-drawer dresser. And yet, the room feels bigger, brighter, and much more open. So how does that happen? Proper layout ladies. It’s all about the furniture layout.
Let me show you what I mean and how I used (mostly) recycled furniture pieces to create this comfortable but highly efficient workspace.
The Desk & Chair
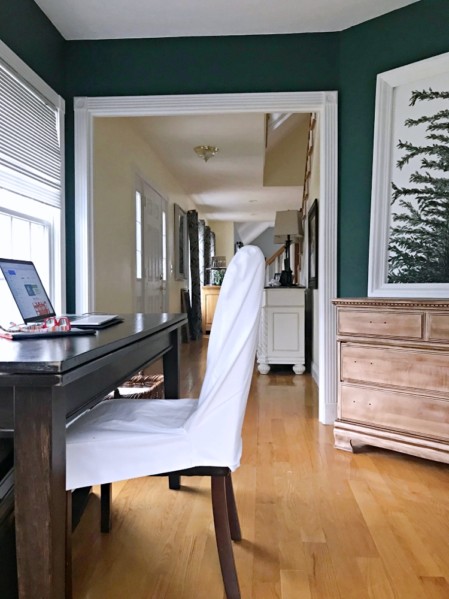
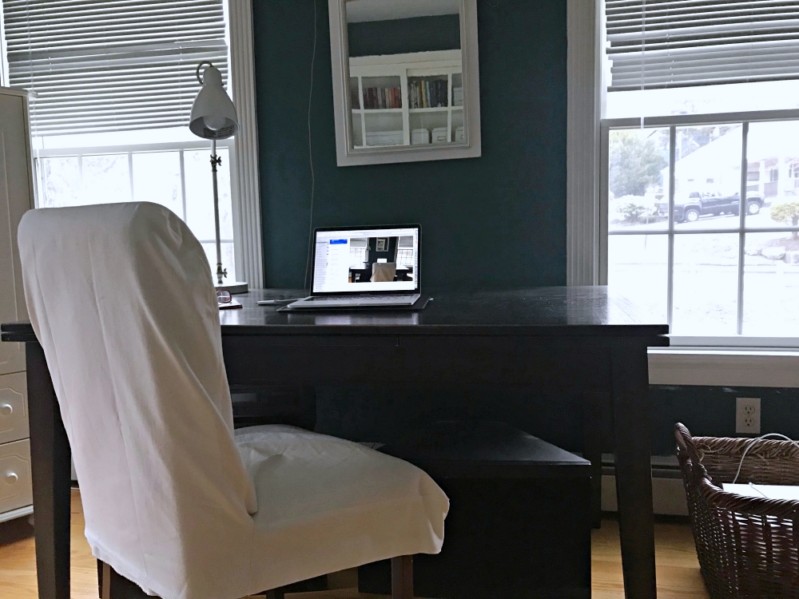
My desk is actually an old dining room table so it’s much deeper than a typical desk. I love this because I can comfortably push my laptop a little further and spread work papers out if I need to.
The desk (aka: table) also expands from both ends to be an additional 48 inches wide. This means it doubles as my sewing table when I need to make window panels. Double duty my friends!
Prior to re-working the layout in this room, we kept the table open to the full length. This was way too big for the room on regular basis and interfered with the doorway and walking into the room.
TIP: Be very careful not to block your doorway! It should be left as a clear open pathway.
The placement of the desk is key too. It faces a wall with two large windows on the west side of the house. This means I can record videos most of the day with plenty of light but without direct sunlight – which can go in and out as clouds pass by, affecting the video quality. Facing windows also keeps my spirits up because I don’t feel closed in.
The chair is a standard parsons chair that I recovered with a pre-made slipcover. I plan to eventually replace it with an ergonomic chair; in the meantime, I just needed to brighten up the dark brown imitation leather. The slipcover was from IKEA but you can find a similar parsons chair slipcover on Amazon HERE.
The Mail Center
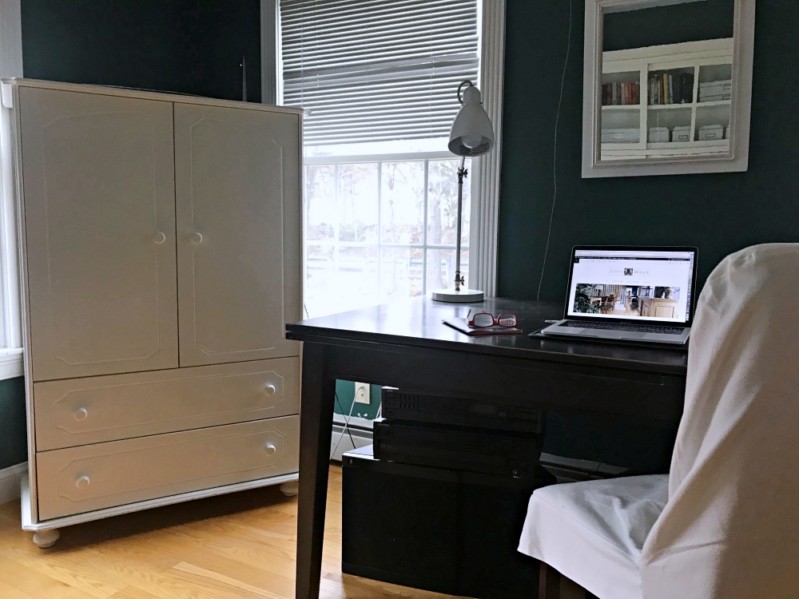
The next change I made to the room was to move this white cabinet (aka: former baby armoire). It was originally located on one side of the door. Having this large cabinet by on one side of the door AND having the table expanded into the doorway left only about a 2-foot opening to enter the room. That was much too narrow.
Moving it the far side of the room opened up the entire space and made the biggest difference in this room.
This cabinet serves as our mail center. Ever since I implemented this system, mail is never left on the kitchen counter.
TIP: Open mail by the trash bin. Immediately read and discard. Then take bills, coupons, and other essential mail to your mail center cabinet.
In this cabinet, I have a basket for monthly bills, a basket for coupons, and a basket for other essential mail that requires attention (this does not include leisure reading). Items are sorted the same day they enter the house. Presto! I just told you how to keep you counters and office desk mail-free!
The Speakers
Ok, don’t laugh. Yes, we still own a pair of enormous speakers to go with a receiver and music cd player. We play the cd’s a lot. I’m just not ready to get rid of them. Here are few of my favorites (don’t judge me) sitting in the player now:
These speakers were originally stacked in the corner so they stood 3-feet tall and looked like a huge eye-sore in the room. Visually, they are what bothered me the most about the room. By tucking them under the desk / table, they visually disappear. I don’t even notice them anymore.
The Glass-Front Bookcase
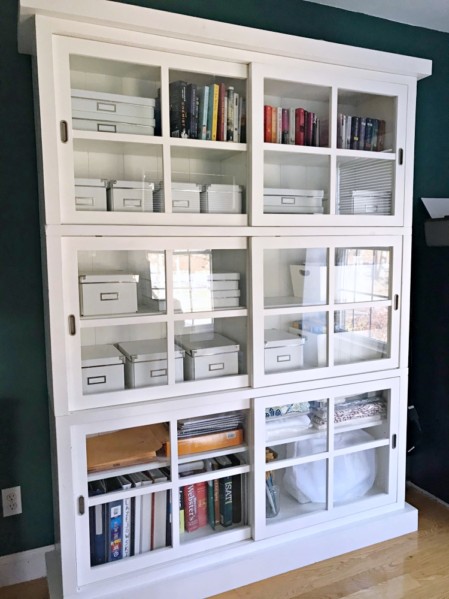
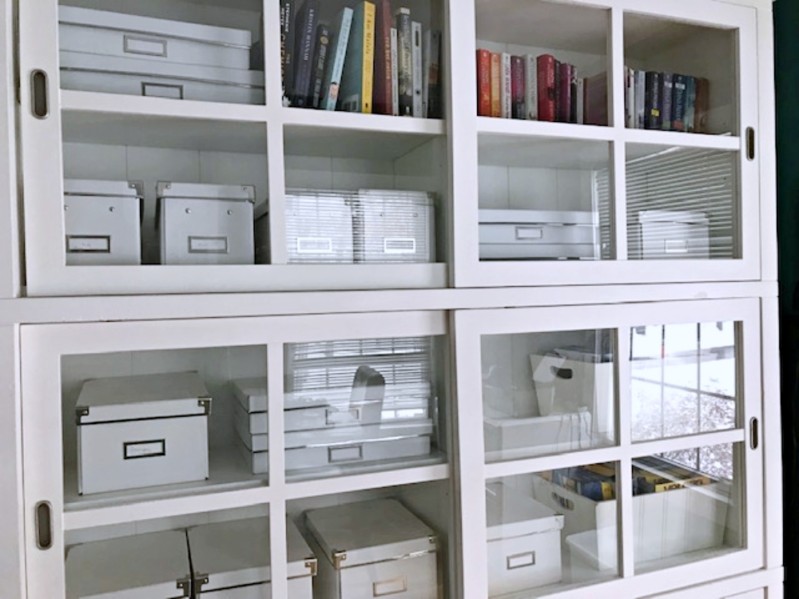
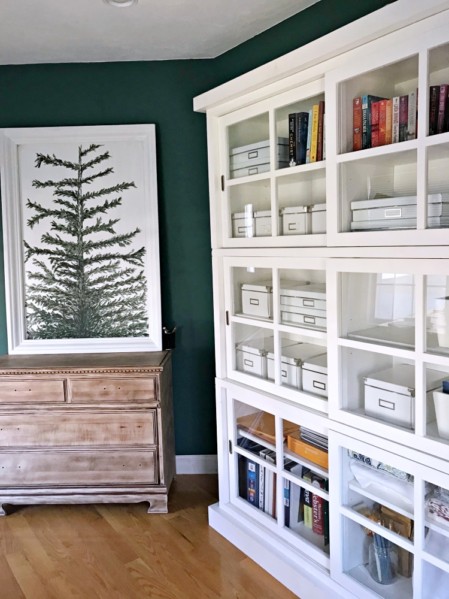
This glass-front bookcase is the absolute best investment I’ve made for this room. This cabinet was purchased about 15 years ago at a Crate & Barrel outlet store for only about $700 – a total bargain considering it acts as the closet and organization station for this room.
The cabinet holds books, notebooks, printer paper, envelopes, and supplies to make Entri Window Panels (sewing machine, fabric, velcro, buttons, bags).
TIP: Contain small items with decorative cardboard boxes in a color that coordinates with your room. These white ones are from IKEA. You can find them on Amazon HERE and HERE.
The Artwork
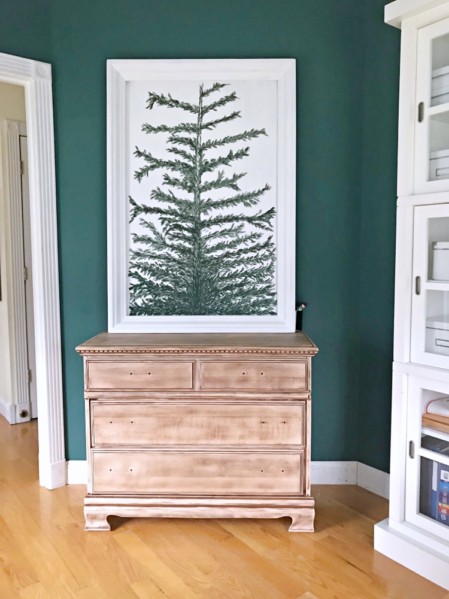
Add a painting or print of your natural element. This is the natural element which you feel most comfortable, inspired and refreshed around. Read more about discovering your natural element HERE.
TIP: If you don’t have one in your home, paint one. This was an old mirror that I removed and painted the picture of a pine tree.
Also add a mirror to make the space appear larger and to reflect light.
The Dresser
The 3-drawer dresser the painting sits on is a recycled dresser that I sanded down and placed in the office for extra storage. I also consider it art of my natural element because I love the wood tone.
TIP: Bring a piece of furniture in from another room and use it in a different way. Dressers and sideboard cabinets can be extra storage.
Remember to bring in a nice lamp and a filing cabinet to immediately file paperwork away and out of sight. Then as funds allow, bring in a large basket, an area rug, window panels, and even a plant.
And finally, coordinate colors. Stick to a color scheme three colors just as I’ve done here (white, black, and natural wood).
I’d love to hear how your home office is shaping up. Tell me in the comments.
Shop This Look
Disclosure: This post contains affiliate links to products, or similar products, I use myself or would like for my own home office.
Chair Slipcover / Decorative Storage Boxes / Pine Tree Print / The Beatles CD / Task Lamp





Leave a Reply