This March is a little different than last in that I’m choosing to use stain on furniture pieces more often. The thought process behind the decision to use stain or paint on a thrifted furniture piece is a careful one though. There are definitely things to consider.
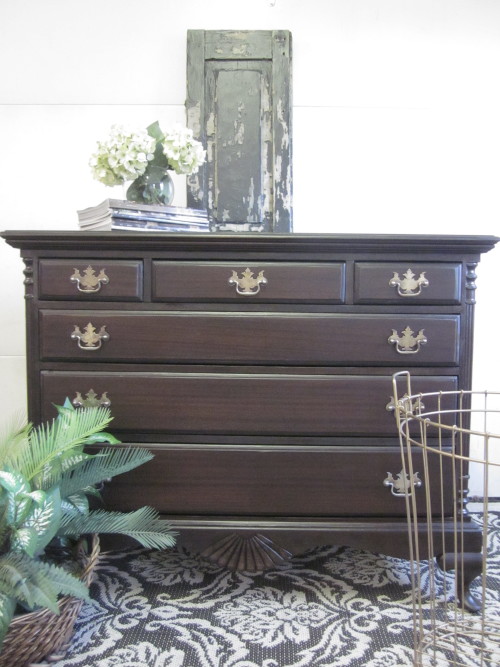
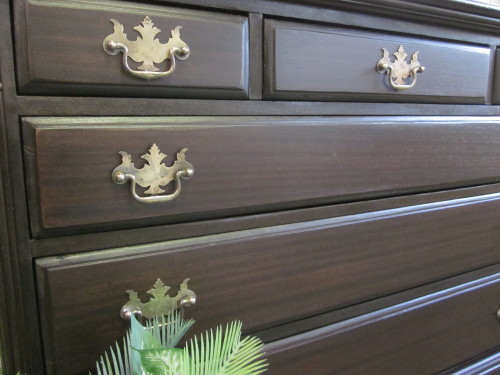
Today… I’d like to show you an antique dresser that I recently refinished. I’ll explain why I chose stain over paint on this particular piece of furniture and how I applied the stain and topcoat.
Deciding whether or not to refinish a piece of furniture with stain versus paint has a lot to do with the type of furniture, the amount of damage to the wood, and the design. Let’s take them one at a time…
Choose Wood
Choosing a furniture piece that’s not only wood but the same wood throughout is the most important factor if you’re planning to use stain. While solid wood is better, veneers are also wood and can be stained.
Wood accepts stain evenly, assuming the surface has been sanded down to remove any prior topcoat and stain that may interfere with the stain color.
If the drawers, top, or base of the furniture piece are different woods, the stain will look like it’s a different color on each section and it would be a better choice to paint rather than stain it.
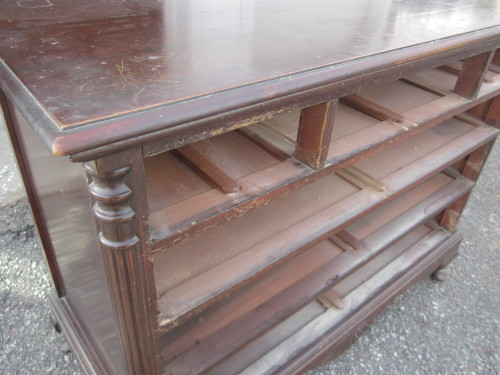
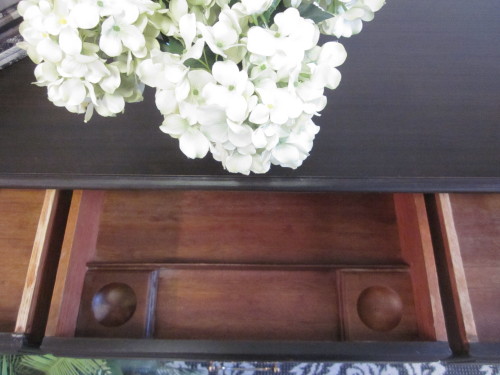
In the case of the antique dresser, it was the same solid wood throughout.
Notice Existing Damage
Assuming you’ve chosen a solid wood piece of furniture, the next step is to closely look and see if there wood is damaged. Does it have burns, cracks, or deep divits in the wood that you won’t be able to remove when you sand it?
If the only way to repair any cracks or chipped veneer (which is wood an can be stained), is with wood filler, then you’ll want to prime and paint that piece. Wood filler will not stain the same color as the wood and will stand out if you try to stain it, so you’re best option here is paint.
Notice the Drawer Design
How the drawers are designed has a big impact on my decision to use paint or stain. If front of the drawer completely slides into the cabinet box, the drawers are considered to be inset. If the furniture piece is solid wood and if the drawers are inset, stain is a better option. Since stain penetrates deep into the wood and won’t scrape off as easily, stain is less likely to show the wear and tear as the drawers slide in and out of the cabinet box.
If only the drawer box slides into the cabinet box but the drawer fronts lay outside the cabinet box, the drawers are said to have an overlay. Both stain and paint will work well here since the drawer fronts won’t be scraping against other parts of the dresser.
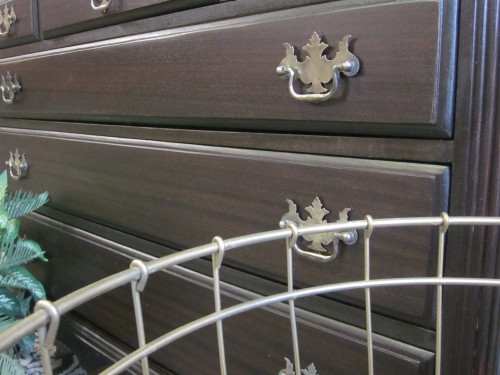
In the case of this antique dresser, the drawer fronts were inset so I knew stain was the better choice.
Notice the Detail Work
If the furniture piece has extensive detail and a lot of deep groves that would make it difficult to remove the old finish, stain may not be a good option. This will also depend on the original color and the new color you’d like to achieve.
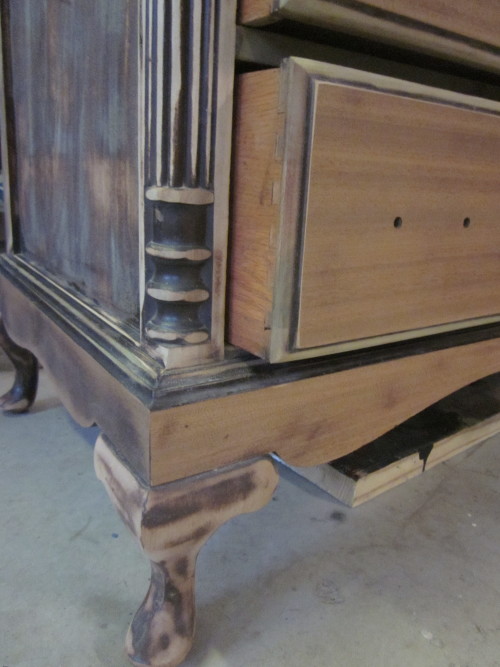
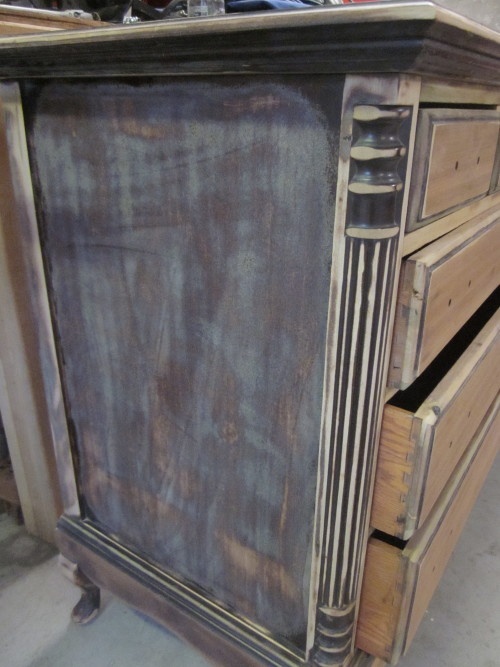
In the case of this antique dresser, it does have deep groves that I had to sand out by hand. While I didn’t remove 100% of the old finish in some of those deep groves, I chose a stain color that was dark enough to blend the old color with the new.
Pick the Right Stain Color
The original color of a furniture piece, even after you’ve removed the original stain, has an impact on the color the color stain your ultimately choose for a furniture piece.
If a dresser started off with a very light, natural stain, then most any color stain, from light to dark, will work well. However, if a dresser started off as a dark stain, and especially if it had a lot of red undertones, your best bet is to choose a dark stain to refinish it.
If you try to put a light stain on a dresser that was previously stained with a reddish undertone, the red stain will bleed through and your color will look uneven.
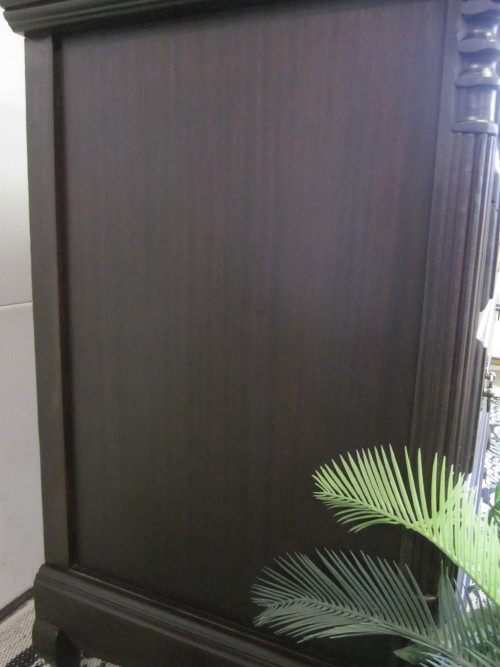
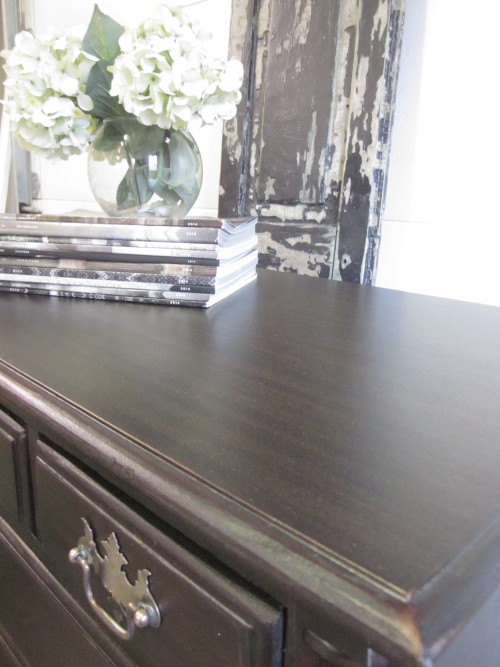
This antique dresser I refinished this week was originally stained with a deep mahogany so I knew my only option was a dark stain. I chose an Expresso stain but then added a few drops of black stain. Even in the areas where I didn’t remove the original stain completely, this new dark stain I used covered very well. The “before” is above and here is the “after”…
Now that you understand how to choose a piece of furniture that is right for staining, here are a few key tips to applying the stained finish and clear topcoat…
Use the Right Brush or Rag
Choosing to use a bristle brush, a foam brush or a rag is a matter of choice. I personally prefer to apply stain with a soft terry cloth towel. Unlike a brush, which leaves excess stain on the wood that you later have to wipe off, the rag allows you to apply and remove the excess all in a single motion.
I’ve found that white or light colored baby bath towels or terry cloth towels work best for staining wood. Cut the larger towel down into small 6-inch squares. This makes them easier to handle. Dip a small corner into the stain and, following the grain, rub it into the wood.
Wipe Off Excess Stain
If you do choose to use a bristle or foam brush to apply stain, dip the brush into the stain and, following the grain, brush it into the wood. Allow the stain to absorb. Then after a few minutes, wipe off any excess stain. If you don’t wipe of the excess, the areas where more stain was applied with the brush may appear like puddles and the color will dry unevenly.
Choose the Right Top Coat
You’ll find that many antique furniture pieces were finished with a high-gloss, oil-based polyurethane. If you’d like to replicate that look, you can do the same.
If you’d like to tone down that sheen you could choose a satin finish. Applied correctly, satin is both durable and beautiful. The problem is that with a satin, any areas you may have missed show up when the light shines on them. Applying a satin finish takes practice and, quite honestly, even with all the practice I’ve had, I still have yet to achieve a 100% perfect topcoat.
I prefer to use a clear, matte water-based topcoat. With a matte finish you get the protection of a clear topcoat and get the look of a naturally stained wood. Plus when the light hits the wood, there’s no sheen so you don’t see imperfections.
Steel Wool Between Top Coats
Apply the clear, matte topcoat with a brush. Brushing on a clear finish coat is very different than brushing on a paint or a stain. Instead of moving the brush back and forth to work paint into the wood, brush the clear on in just a few single smooth swipes. Be careful not to work the the liquid too much.
Once the clear coat is dry, very lightly sand it with steel wool. Remove any excess dust with a clean, damp rag. Apply a second clear coat if needed.
The thought process behind the decision to use stain or paint on a thrifted furniture piece is a careful one. Prior to making that decision, you need to take into account whether the furniture piece is the same wood throughout, does it have existing damage, does it have detailed carvings, and how the drawers are designed.
Want more inspiration in your inbox.
Thank you & Enjoy!
Vicki
Disclaimer: This post contains affiliate links, but all opinions are my own.






Great tips! Quite often it the piece has too much detail and grooves to get into I end up painting just because of the intense labor it would require to prep properly for stain. Thank you for your take on this, it is information worth considering when deciding to paint or stain! Love your blog!
Smiles!
Terry
http://thecuratorscollection.wordpress.com
Making Broken Beautiful
Thanks Terry. And I love your blog too. The Curators Collection offers so much great inspiration!