How often do you experiment by moving furniture and decor around your home? A sofa table may become an entryway or hallway table. A long dresser may become a dining room sideboard or TV stand. Or, a glass cabinet may become extra storage in a master bathroom. One of the main things I share with you here on Entri Ways is that some furniture pieces are super versatile. Today’s post is a makeover of one of those pieces.

One of the most versatile pieces of furniture is a console table. A console table yet fairly shallow table that’s most often placed against a wall. When placed along the backside of a sofa, this same table is referred to as a sofa table.
Console tables come in all different sizes and styles. They run anywhere from 12 to 18 inches wide. Some have drawers and some have shelves.
Console tables can be used in any room of the house, so when I come across them I always grab them to refinish.

Here’s a pretty basic console table, most likely from Target. It’s solid wood believed to be made of some sort of Indonesian hardwood. I’ve come across this type of wood on several furniture pieces, some inexpensive and some not so inexpensive.
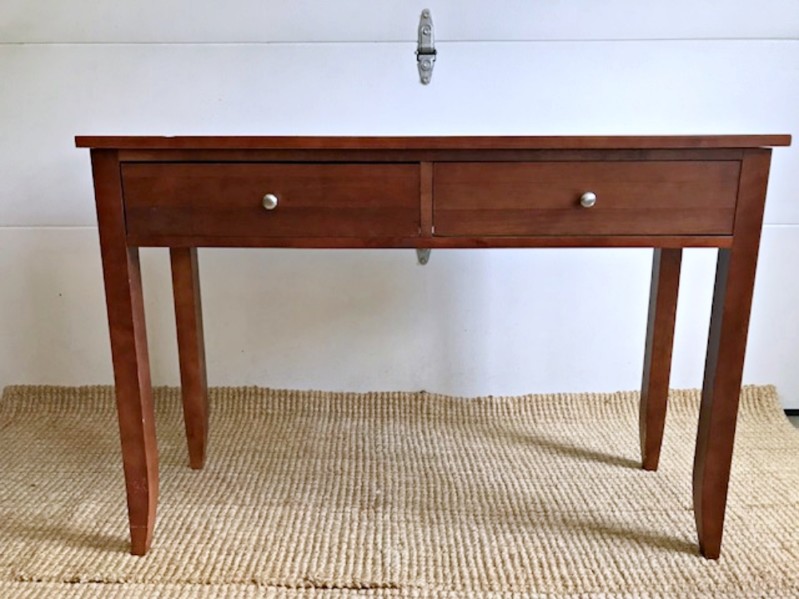
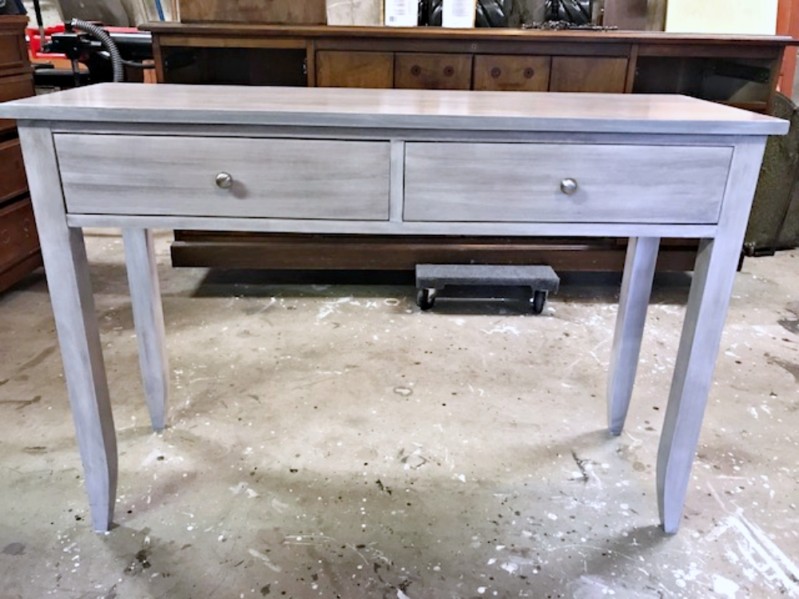
This console table was refinished more than a year ago for a client. Diane moved into a new condo by the water. She was decorating her space in lighter colors and using gray as her neutral. She was downsizing from a single-family home so her furniture had to be well-planned out.
When Diane saw this small console table in my stash, she knew it would make a perfect makeup table along the wall leading from her bedroom to her bathroom. The only problem was the brown color.
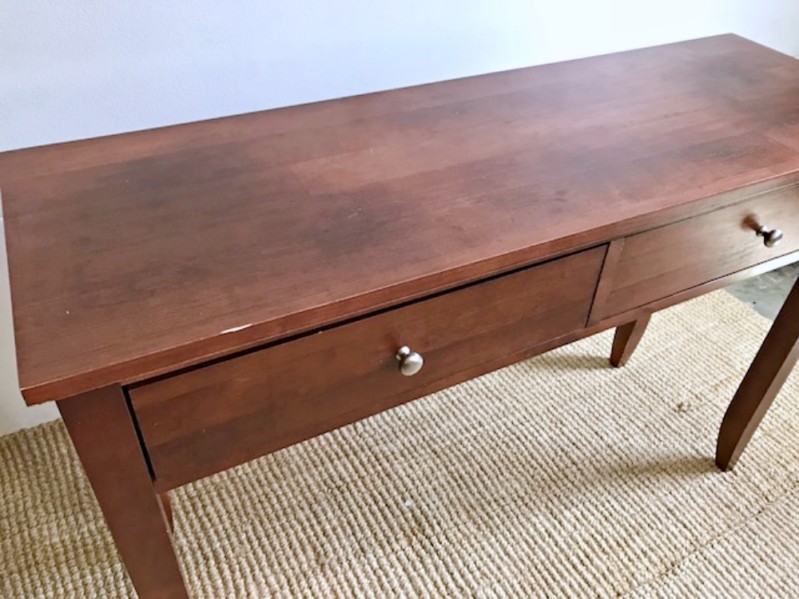
I began by sanding down the table with a Craftsman rotary sander and a 60-grit sanding disc. There was still remnants of stain, but I planned on using an opaque gray stain as a base and figured it would cover the variations in color.
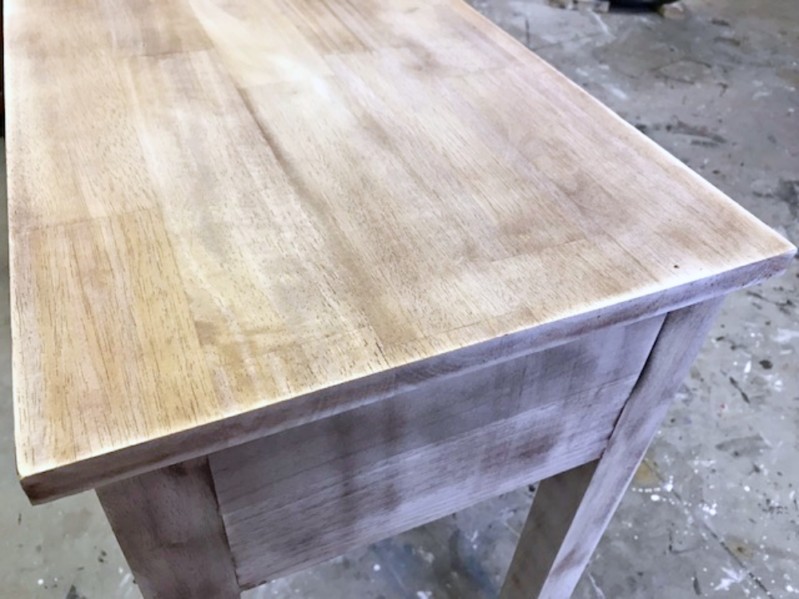
Using a clean cotton rag (aka t-shirt), I wiped on several layers of gray and white stains. Here are the products used:
- Minwax Gray Water-Based Stain
- Minwax White Wash Stain
- Minwax Satin Polycrylic
- General Finishes Pitch Black Glaze
The products were layered in the order shown above, with the gray and white stains first repeated a few times to fully cover the wood.
There was one spot on a leg the continued to bleed through. At first I tried re-sanding that one spot and applying each layer. Yet the stain underneath continued to bleed through. Here’s a trick to covering small troublesome spots like that:
Tip: Apply a Zinsser BIN primer or Shellac to that one area so seal it. Then, using gray and white paints (watered-down to the consistency of the stains) and then the black glaze I wiped on each one in the same order as the stain until the painted section blended perfectly with the rest of the stained leg. Sometimes paint is necessary because the stain just won’t do the job.
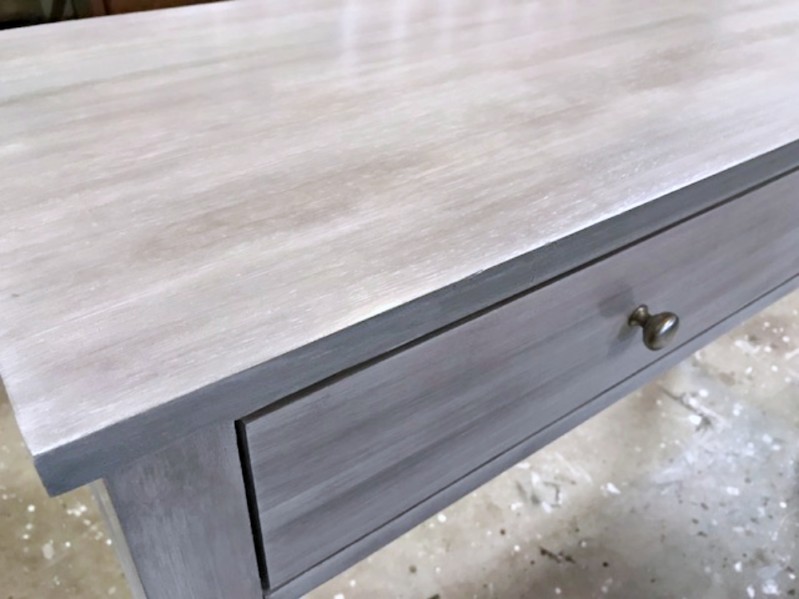
The black glaze was applied in a very modest amount and only after the clear polycrylic was dry. Applying the clear coat first, gives you a slick surface so you can then wipe off as much of the glaze as you need to.
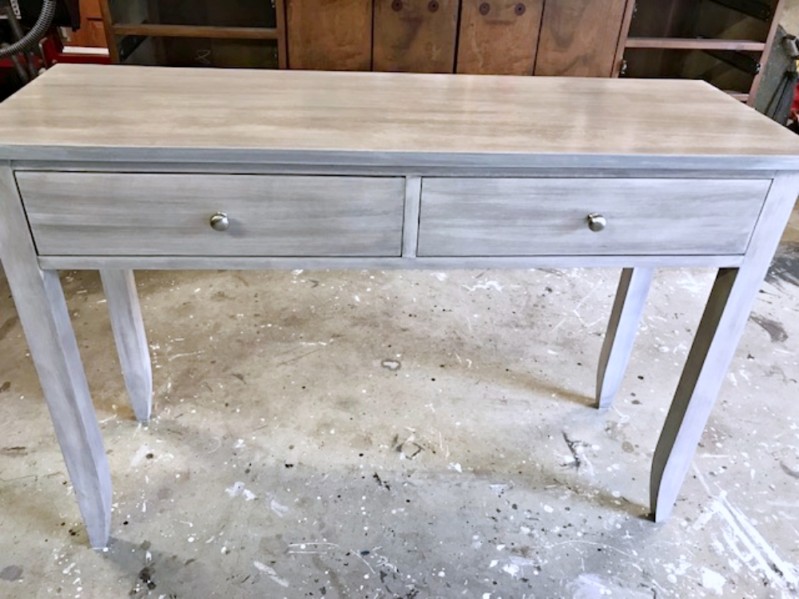
If you have a console table in your home now but it’s not the quite the right color for your current decor, then staining or painting it could be a great (and economical) option.
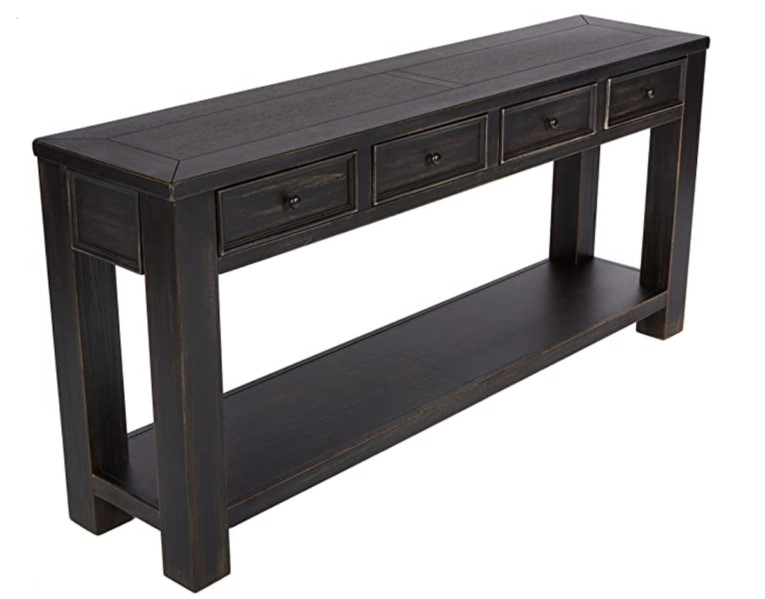
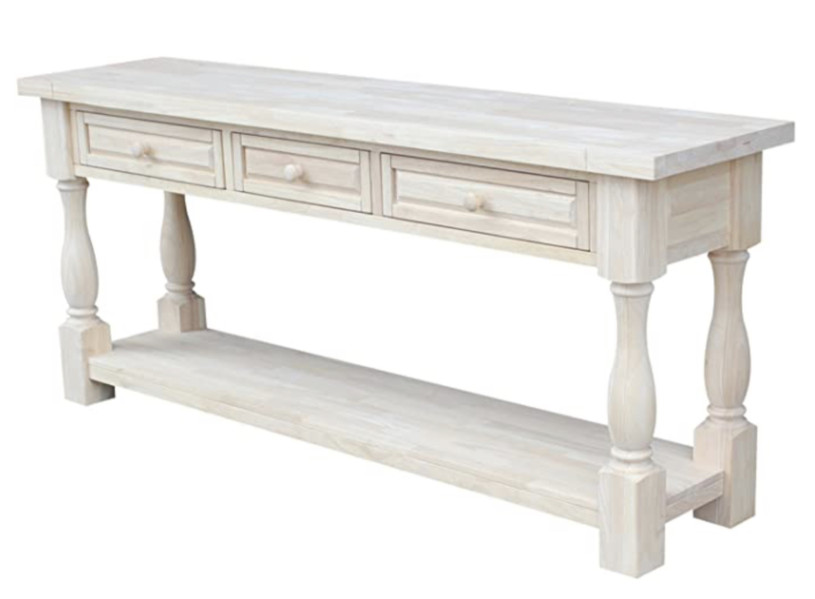
If you don’t yet have one of these versatile pieces of furniture in your home, they are always a great investment. Here are a few of my favorites. Click the images to see them on Amazon.

Disclosure: This post contains affiliate links to products I use myself and would buy myself.




Leave a Reply