About a month back I showed you an old carpenter’s bench that I painted navy blue & white. A client saw it and asked if I’d make some benches. Always up for a good project, I got to work on making four 8-foot long wooden benches. Here’s a tutorial on how to make these sturdy benches…
- 1 12-foot long 2″x10″ pine plank (bench top & legs)
- 2 8-foot long 2″x4″ pine stud (supports)
- 1 Box flat phillips 2-inch wood screws (50 pcs/box)
- 2 Packages 1-1/2-inch, metal L-brackets (2 pcs/package)
- Circular saw
- Drill
- Right-angle triangle
We purchased the supplies for this project at our local home improvement store. When choosing your wood pieces, try to select pieces that are not split or cracked because as the wood continues to dry, any splits will only continue to work their way down the wood.
Assuming you’ve purchased a 12-foot long plank with no splits, begin by cutting down the 12-foot long plank to 8 feet. From the remaining 4 feet, cut two 16-inch lengths to be used for the legs of the bench.
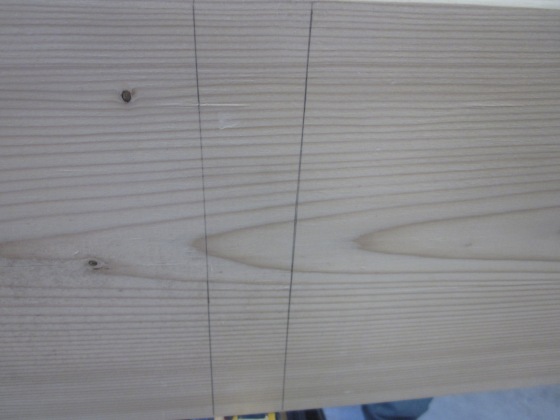
On the underside of the 8-foot plank, draw a level line with your right-angle 10 inches in from each end of the 8-foot plank. Then, since the legs are 1-1/2 inches wide, draw a second line 11-1/2 inches in from each end of the plank. Between these lines is where the bench legs will be set on the underside.
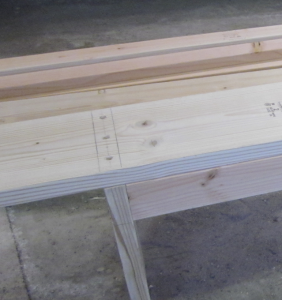
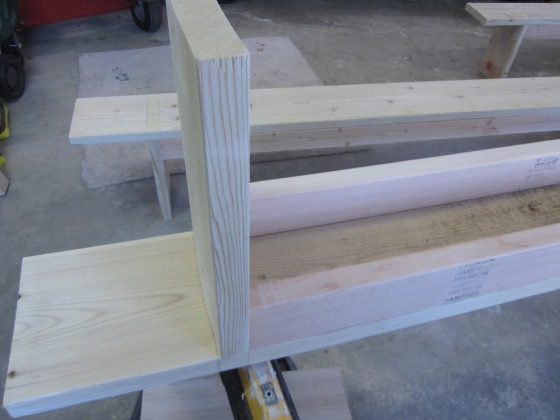
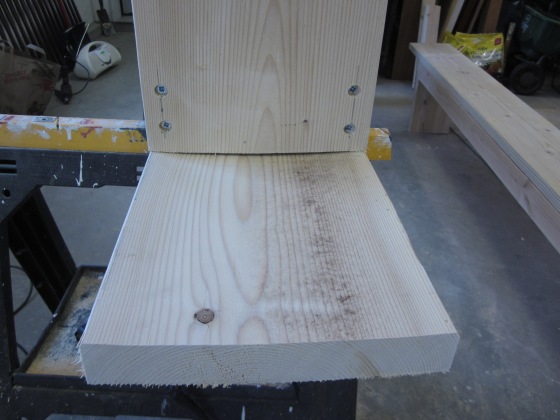
Transfer your lines to the top side of the 8-foot plank and pre-drill 3 equally-spaced holes in the center of the two lines. Set each leg in place and attach the legs to the plank with the wood screws.
All of the screws should be recessed for a cleaner finish.
Turn the bench upside so that you can attach the underneath 2″x4″ horizontal supports.
Measure and cut two 2″x4″‘s to fit between the legs. These will be approximately 73-inches, but it’s best to measure for an exact fit.
Once these horizontal supports are set in place, pre-drill two holes through the legs and into each stud.
Screw in the wood screws.
For additional support, attached L-brackets to the legs and the horizontal supports.
Turn the bench right-side-up and attach 6 more recessed screws, evenly spaced along the bench. These screws are meant to secure the 8-foot plank to the horizontal supports underneath so place them along the outside edge of the plank.
The bench is now complete and ready for the screw holes to be filled with wood filler then sanded, primed, and painted or stained.
You can see these painted painted in team colors here.
Remember to follow EntriWP via email or on Facebook to be notified of new posts and tutorials as they’re added.
Thank you & Enjoy!
Shared On:
Houseologie – Think & Make Thursday








I love your long benches:) I can imagine lots of pretty ways to finish them off! Visting from the DIY Sunday Showcase. Thanks for linking up and sharing your project this week!
Thank you! Team colors are so easy to & fun to duplicate.
These are SO amazing and wow – I am impressed with your skills!! Sharing today on Inspiration Friday! Thanks so much for linking up!
Thank you so much. I’m honored to be included. Love your link parties over at The Painted Drawer – I get so many great ideas!!!
Love the benches! And like Suzanne and lots of other greats…sharing your ideas! Great karma!! Nice work?❤️Mimi
Thanks Mimi!
What a great tutorial! I keep thinking that I want to try a simple bench or table/workstand… but haven’t gotten the nerve (or time) yet. Well done!
Thank you. If you can use a drill, a saw, and a t-square then this is one of the easiest projects to experiment with. Good luck!