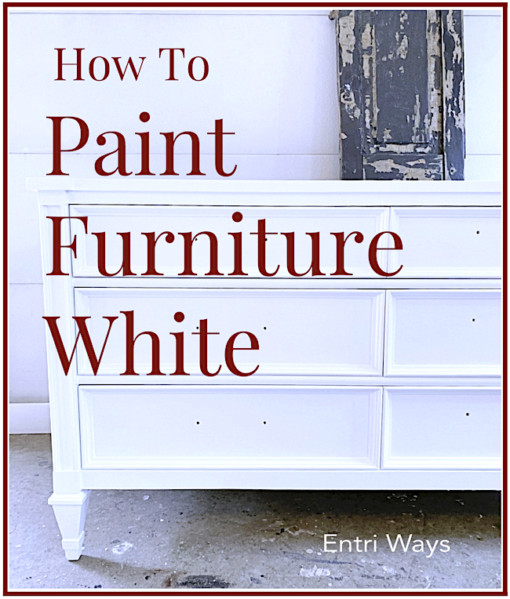
White is one of the most time consuming colors to paint a piece of furniture. However, if you would like your brown-stained furniture to be lighter and brighter to fit in with today’s home decor styles, you may be considering painting it white or a similar light color. Paint will certainly do the trick, but do not expect to brush on one or two coats of paint and be done. The process is much more extensive. Here’s a tutorial on how to paint furniture white…
.
Supplies List
- Dewalt rotary sander
- Gator 60-grit, 5-hole sanding discs
- Honeywell P100-rated vapor mask
- Odorless mineral spirits and white cotton rags (aka: t-shirts)
- BIN shellac primer
- General Finishes white Milk Paint
- Benjamin Moore white enamel paint
- 120-grit or higher sandpaper sheets
- Elmer’s wood filler
Prepping the Furniture
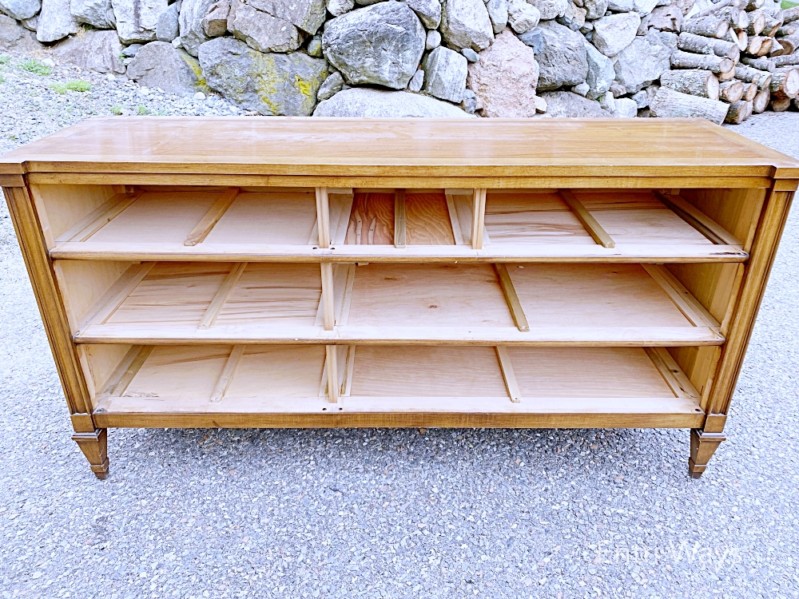
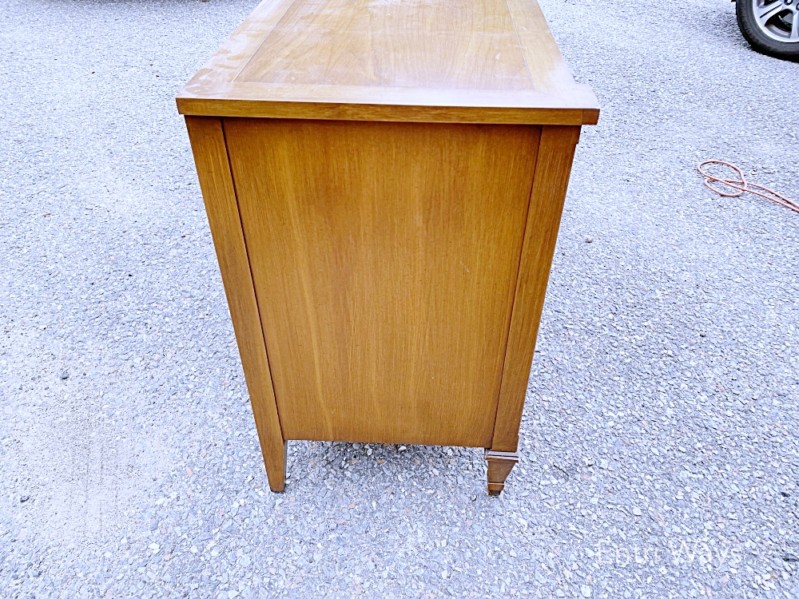
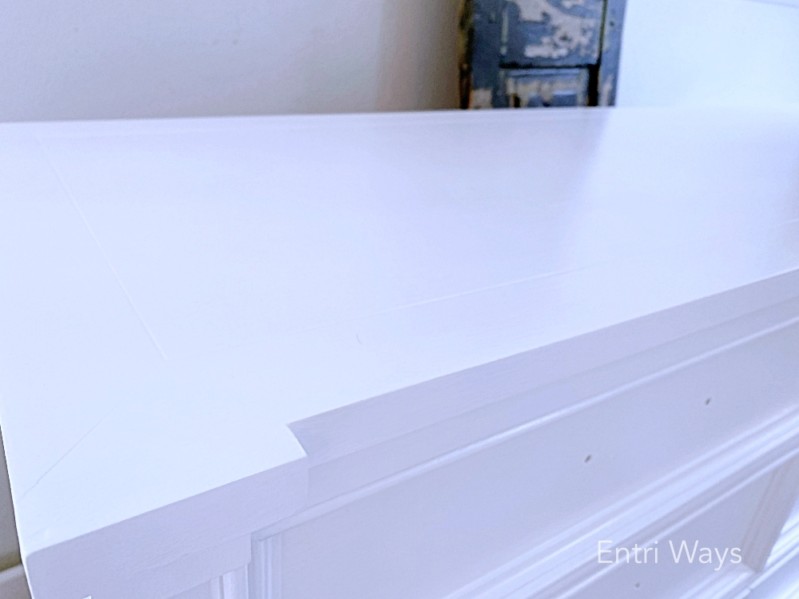
This project started with a really-well-made dresser with just a slight sheen on the surface. It appeared to have a water-based clear topcoat which I lightly sanded with the rotary sander – just enough to dull the surface, but not enough to remove he stain.
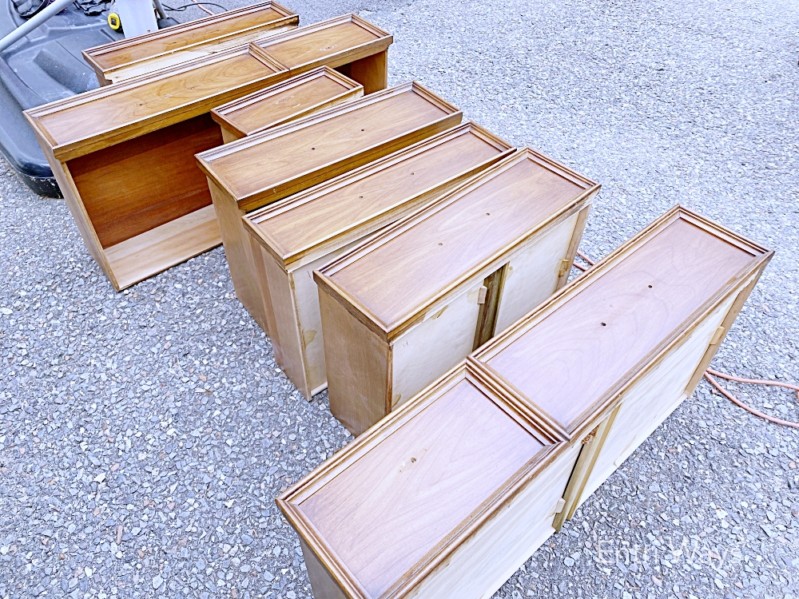
Because of the lip on the edges of the drawers, these had to be sanded by hand.
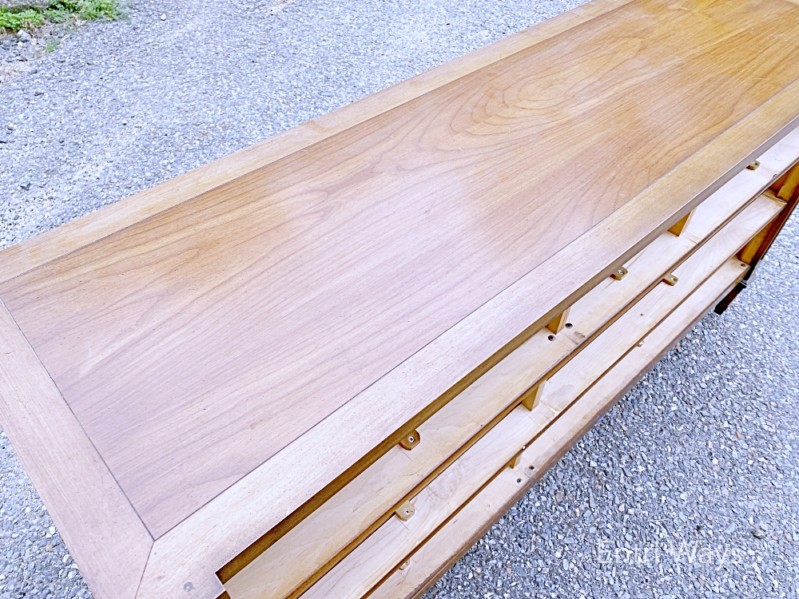
Once sanded, the dresser was wiped down with odorless mineral spirits to remove any remaining dirt and oil.
In all of these years sharing furniture refinishing posts, I don’t think I’ve ever shared a photo of how I look during the process. Not very pretty!
Here I am wearing a Honeywell P100-rated vapor mask. It’s what I wear to sand furniture to avoid breathing in the dust particles.

It’s also the vapor mask I wear when I have to use shellac primer. Without the mask, the product is so strong it burns my throat; so it’s important that you prime the furniture in a well-ventilated area and wear a vapor mask.
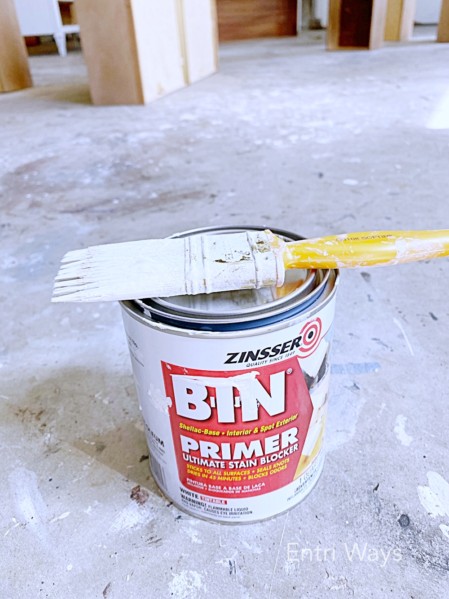
This BIN shellac primer is the only primer I use under white paint. The shellac seals in the tannins in the brown stain and prevents bleed-through of the darker color.
Three coats of the shellac primer were brushed on to this dresser. Two would have been enough to seal the surface, but I figured the extra coat of primer would help conserve paint.
Unfortunately, that wasn’t the case with the white paint. But before get there, here are some important tips when working with a shellac primer:
.
Tips to Work with BIN Shellac Primer
- BIN shellac primer is very thin and splashes. Work in an open area.
- Shellac primer has a very strong odor. Work in a well-ventilated open garage or outside and wear a P100-rated vapor mask.
- Shake the can very well just before use. The primer is white but separates very quickly and the shellac settles in the bottom of the can.
- Pour a small amount into a separate plastic container to work with small amounts at a time.
- When you brush the primer on, pass over an area only once or twice. The primer will begin to feel thick and dry almost immediately.
- The shellac will harden rather quickly on the brush. To clean the brush, set the brush in a glass jar with some rubbing alcohol. Let sit for about 30 minutes.
.
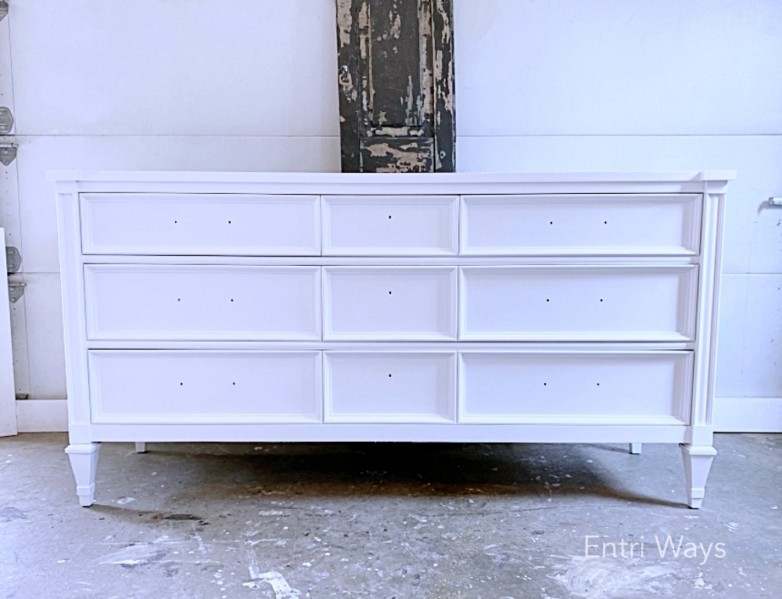
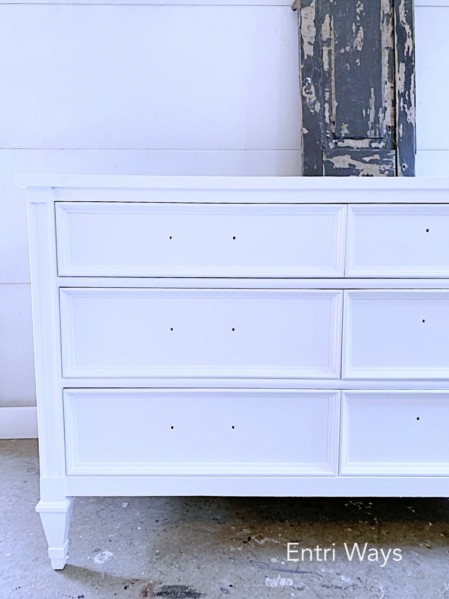
Adding Paint
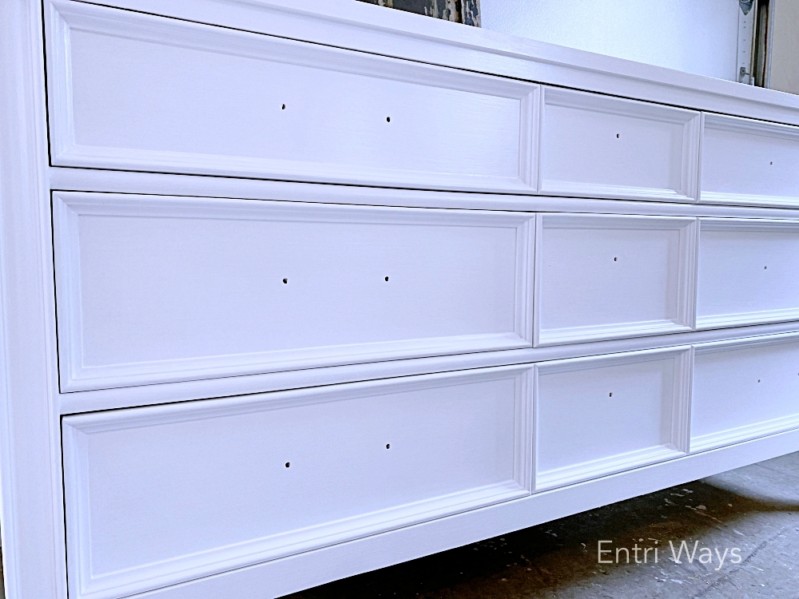
I applied 3 coats of white milk paint, but still was not achieving the opaque covered I was hoping for; so I applied 2 coats of white semi-gloss enamel. The coverage and the light sheen of the enamel was exactly what this dresser needed.
Pro Tip: lightly sand with 120 or higher grit sandpaper to smooth the surface between each coat of primer and paint.
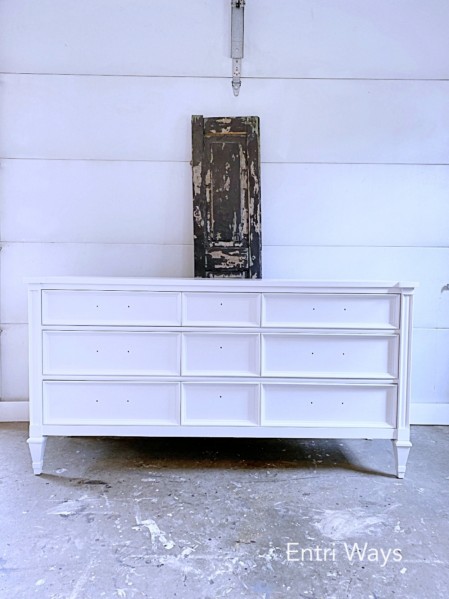
Process Summary
- Lightly sand
- Wash with odorless mineral spirits to remove dirt and oil
- Apply 2-3 coats of BIN shellac primer
- Apply 4-5 coats of white paint; milk paint for a matte finish or enamel for a semi-gloss finish
Pro Tip: To minimize brush marks, thin the paint by 10% with water and apply thin coats.
.
.

.
Disclosure: This posts contains affiliate links to products I use myself.


Leave a Reply