Sewing curtains used to intimidate me. A sewing machine scared me to death! It wasn’t even until about five years ago that I even touched a sewing machine; but once I learned how to thread that needle and pin a hem, I realized that was all there was to it.
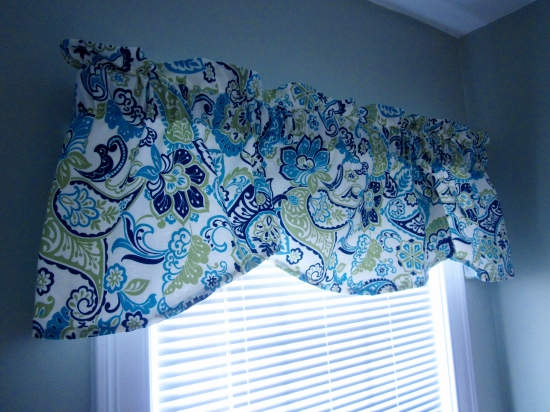
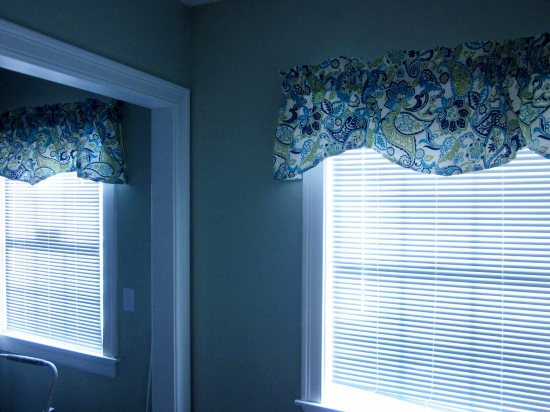
I’ve had some green and blue paisley fabric laying around for a while, so I decided to make a pair of valances. Continue reading to learn how to quickly make a window valance step by step.
How To Make a Window Valance
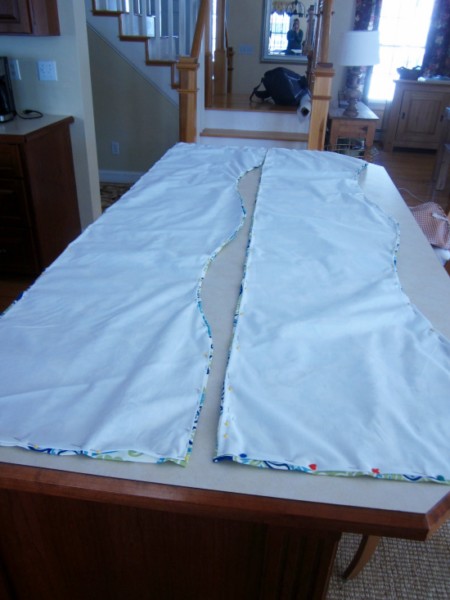
STEP 1: Lay your fabric out on a long countertop. Since I was making a pair of valances, I doubled-up my fabric so that I could cut two at the same time. Each strip of fabric is 78″L x 23″W.
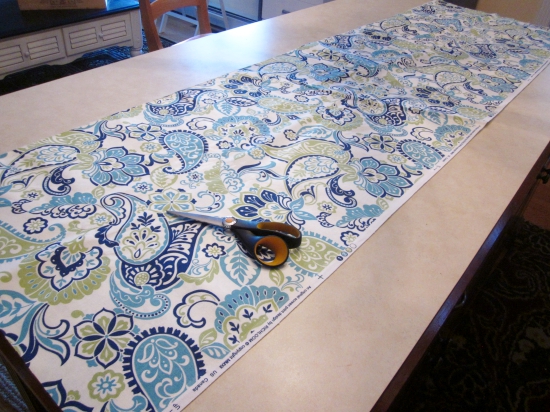
STEP 2: If you perfer a straight hem on the bottom of the valance, trim your fabric straight across to the desired height. Remember to add 1 inch to each side for the hem. So if you prefer your finished valance to be 20 inches high, the cut fabric will be 22 inches. Then skip to Step 4.
If you plan to add a bit of a wave to the bottom hem of your valance, like mine, fold the fabric in half. and proceed to Step 3.

STEP 3: I had another pair of valances that I used as a pattern. These have a bit of a wave at the bottom. So that both sides end up being identical, fold the fabric in half and cut the fabric along the wave. Cut one inch longer than the wave. That one inch will be folded under for a hem. The final dimensions of my cut (but not hemmed) fabric are 78″L x 19″W.
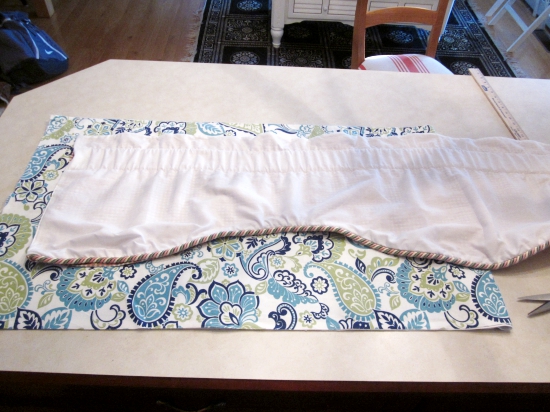
STEP 4: Fold a 1 inch hem along the top and bottom hems and pin every few inches.
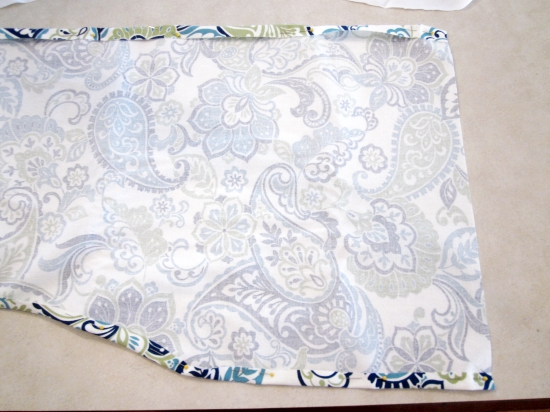
STEP 5: To add a lining, cut the lining 1 inch larger than the curtain fabric. Fold the lining’s hem under and (removing and using the pin from the fabric) pin the two hems together. Do this on all 4 edges of the valance.

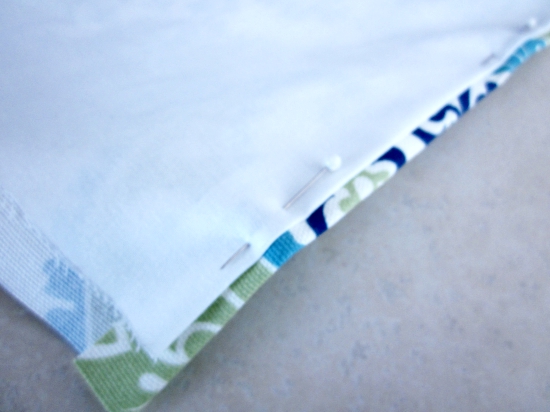
STEP 6: Mark the position for the rod pocket, like you see here in my sample green & pink valance. This rod pocket is 3 inches wide and will accomodate rods up to 3 inches wide.
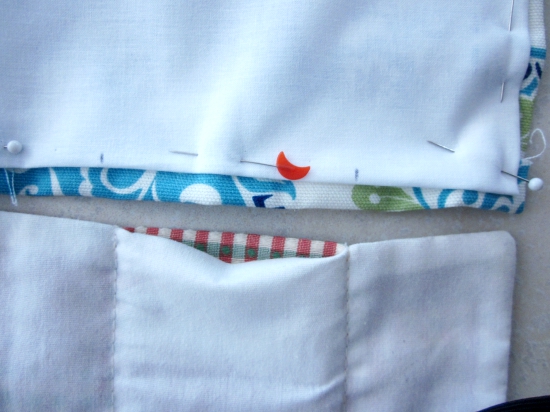
From the top fo your valance, make registration marks two inches in and 5 inches in. Notice my blue pen marks going across the fabric. These will be the lines I follow to sew.
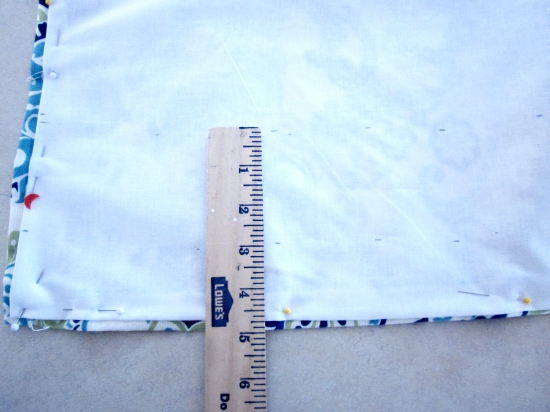
STEP 7: Sew your hems with the sewing machine. Be careful not to sew up the rod pocket holes between the registration marks (on the short ends of the fabric); but you do want to sew along the registration marks from short end of the fabric to short end. This will create a pocket in the fabric to hold the rod in place.
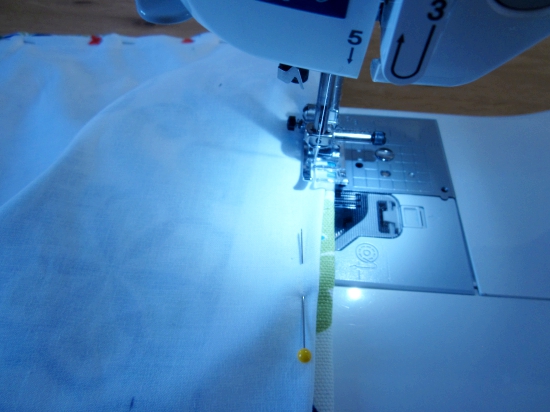
STEP 8: Slide the rod into the rod pocket you’ve sewn and hang your valance!
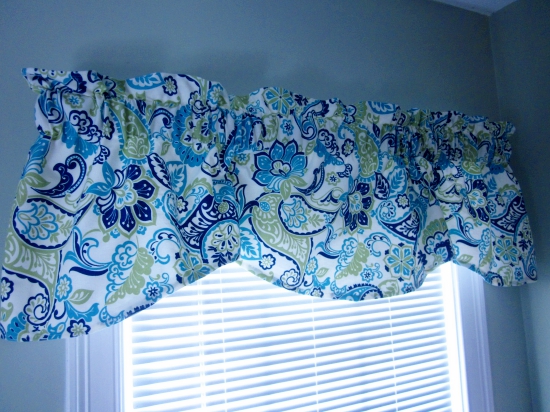
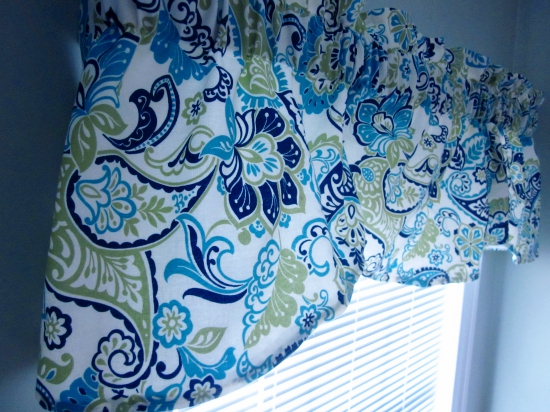
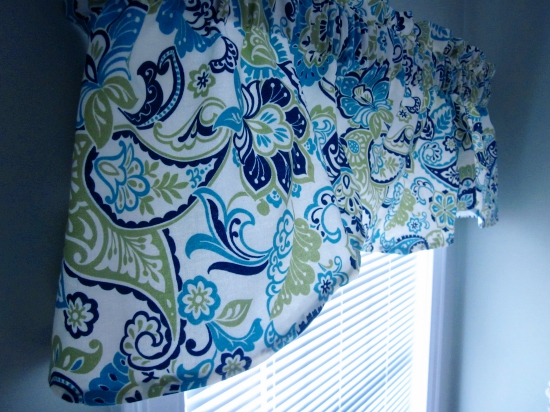
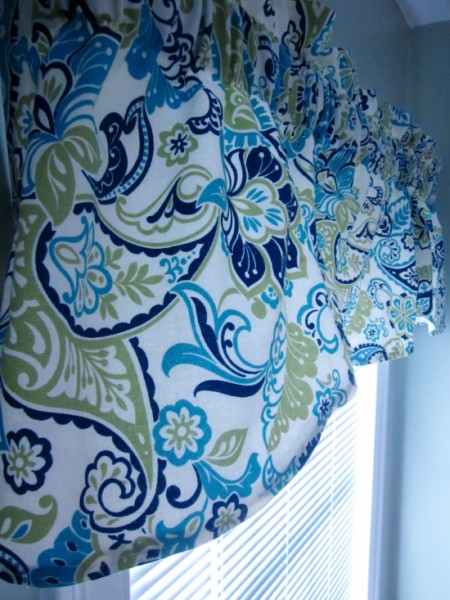
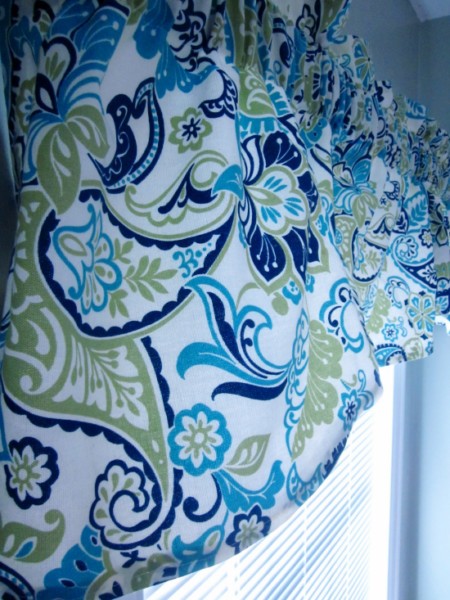
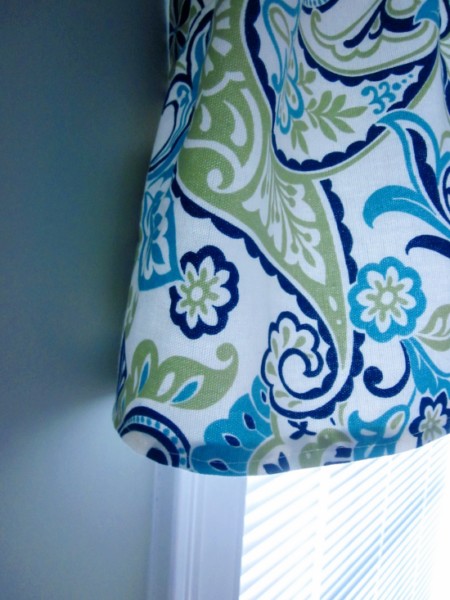
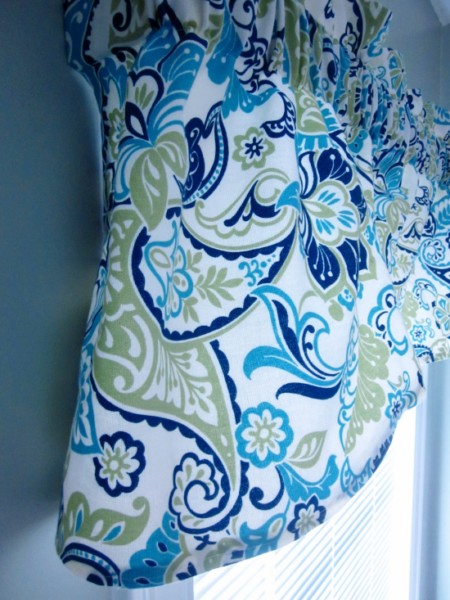
These two new, lined, blue and green paisley valances are now for sale in my Shop if you’d like them! The colors are a deep royal blue (almost navy), a lighter aqua (turquoise) blue, and a soft lime green on a white background.



Thanks so much for this tutorial. I overcame my fear of sewing curtains. I guess I may make more for other areas in my home.
Thanks for the measurements. That’s just what I needed.