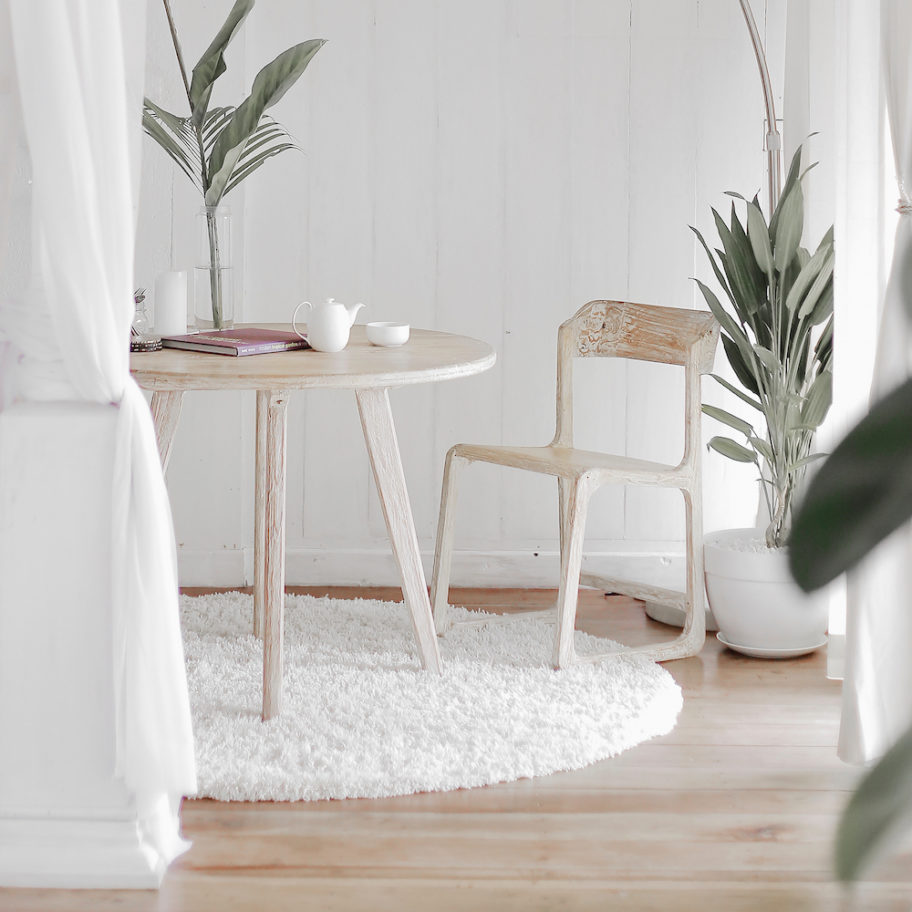
Have you recently purchased a new gray sofa and painted the walls a modern white or gray? Perhaps you even added a few new throw pillows and changed out the artwork to the cooler-toned color scheme. So why isn’t the room feeling pulled together? It may be the furniture. Not the furniture size or style. It may be the color of the furniture. So I’m going to show you how to transform stained oak (or any wood really)furniture to modern gray and white.

A very close family friend was in the process of transforming her living room, just as I described above. Jan purchased a new gray sofa and throw pillows and painted the room and the large entertainment center a warm winter white. She was now contemplating purchasing new furniture to replace the stained oak coffee table because the color didn’t seem to coordinate with the new gray color scheme.
The dilemma was that the stained oak coffee table she owns is an excellent quality piece, it’s solid wood, the right size for the room, and has two large drawers for tons of storage.
So it seemed like a waste to purchase an entirely new piece of furniture.
Instead, she asked me if I would refinish the coffee table.

Supplies List to Paint Oak White:
- Craftsman rotary sander
- 8-hole, 60-grit sanding discs
- Minwax water-based gray stain
- Shellac primer
- General Finishes snow white Milk Paint tinted with Benjamin Moore Cloud Cover enamel
- Clear coat in flat or matte finish
- Black matte hardware

Step 1: Sand
I began by sanding the table with a Craftsman rotary sander and 60-grit sanding discs. Since I planned to use a gray stain on the tabletop, the stain on the top had to be fully sanded off. The base and drawers would be primed and painted so they just need a light sanding.
Step 2: Stain the Top
Apply the gray stain with a folded cotton rag (aka: t-shirt). The first coat will look very light and a lot of the wood grain will still show through the gray.

The second coat of stain can be applied immediately after the first. You may choose to stop after this second coat if you want much of the wood color to show through the gray (pictured below), but I suggest applying a third coat of stain because over time even more of the wood tone will seep through the gray.

Pictured below you can see the tabletop with 3-4 coats of stain. When you first stain the wood, the gray will be a cool tone. Over time as the sunlight hits it and the wood seeps through the gray stain a bit, the gray will turn warmer.
I happen to know this because I refinished THIS pedestal dining table two months ago but just recently refinished the leafs. I applied the exact same products and they looked shades different because the table sat in the sun for 2 months but the leafs were refinished then immediately put in my cellar under a protective blanket. When a buyer came to pick them up yesterday, I realized they were two different colors. Yikes! I was the aging process (sunlight and bleed-through that affected the color). I told her to place the leafs under a window for the next several weeks and they should eventually be the same color.

Step 3: Prime
Apply two coats of a shellac-based primer to the table base and drawers. Unlike basic stain-blocking primer, the shellac in this primer does a much better job of sealing the wood and preventing bleed-through.
Step 4: Paint
I originally wanted to paint this table with enamel paint. However, what I was finding was that because oak is a very porous wood with a lot of grain, the enamel wasn’t leveling as well as I had hoped. I know it was the type of wood because I was refinishing another dining table made of maple at the same time and the enamel went on super smooth and leveled out perfectly.
So I adjusted my plan and applied a thick coat of General Finishes Milk Paint. This milk paint is the best paint I’ve found for leveling and creating a smooth finish so I figured it would fill much of the wood grain and level. And it did.
For the second and third coats of paint, I tinted the milk paint with a very small amount of enamel paint I had in the color Cloud Cover (and off-white by Benjamin Moore). The result was a table base that was just barely off white and what I call “winter white”.

Step 5: Protect
To protect the finish, add two coats of a clear protective finish. Jan, the owner of the table, asked for a flat finish so I applied 2 coats of Benjamin Moore’s Stays Clear in a flat sheen. Minwax Polycrylic in matte works well too.

Jan purchased new matte black handles for the drawers. They transformed the table and pulled the entire look together. You can find similar handles online at Amazon HERE.


lj


Disclosure: This post contains affiliate links to products I use myself.


Leave a Reply