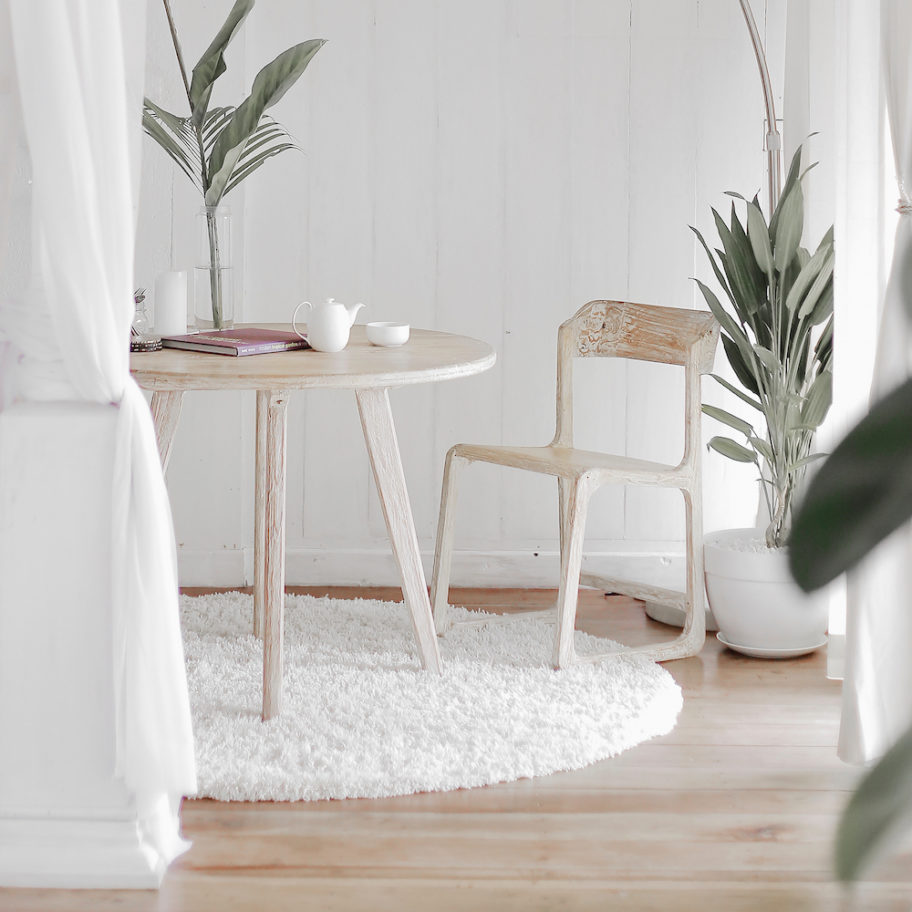
Even though most of the furniture pieces in my home are on the modern side, I still always love the surprise of a single, distressed statement piece of furniture mixed in and on display. They’re comforting. They look as though they’ve been well-used over many years and remind us of home and memories.
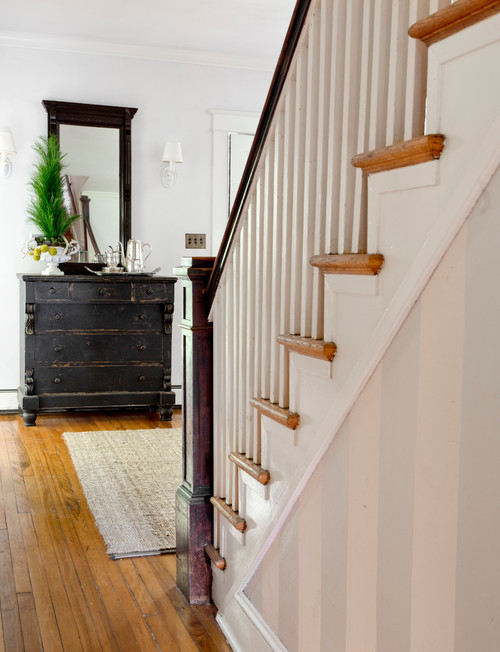
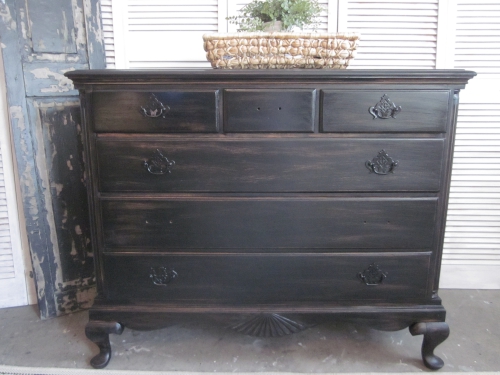
When I came across this antique dresser I saw it as a perfect hallway table and storage piece. The challenge was to restore and clean it up, then send it back many years.

I’m always experimenting with different paint and stain products. With this particular dresser I wanted a distressed black stain finish like you find in Pottery Barn. What I love about Pottery Barn furniture is that the paint looks rubbed off, but the finish still maintains a low lustre sheen.
Minwax Classic Black Polyshades in a Satin finish worked perfectly to create this look.
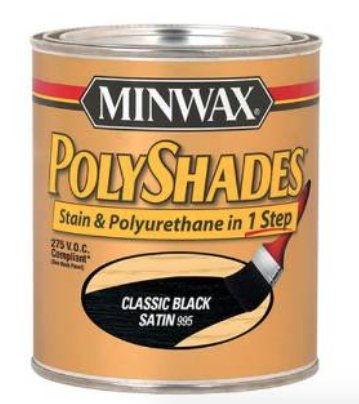

Polyshades is a stain with the polurethane topcoat built right in so you only have the one step of applying the stain. There are, however, several tricks to applying it correctly.
I apply all stains, including Polyshades, with a rag. Many people use brushes and the instructions even say to brush on stain and then wipe off the excess with a rag; but after years of experimenting, I’ve found the best and easiest way to apply any type of stain is with rag. Remember to always properly dispose of brushese and rags according to the manufacturer’s instructions as they warn that they can be combustible.
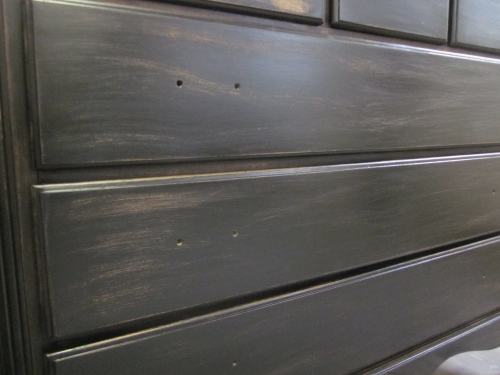
Using a rag to apply stain, you’ll both apply and then remove any excess stain in one step. You have better control as to how much stain you apply and how you distribute it. Using a rag also eliminates the bubbles you get when you apply Polyshades with a brush. Just to prove it here’s the result when I applied Polyshades stain with a foam brush in the past. I’ve had similar results with a bristle brush.

Bubbles can occur if you shake the can, so I’m very careful not to shake or aggitate the can too much before use. And still… bubbles. No more applying stain with brushes for me!
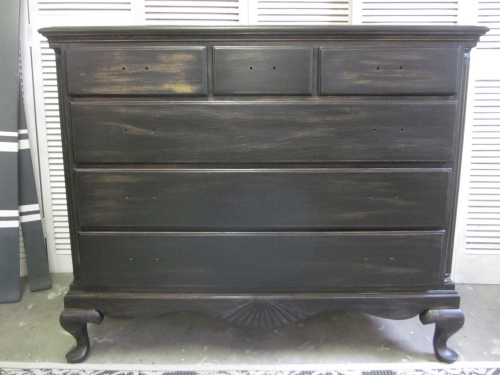
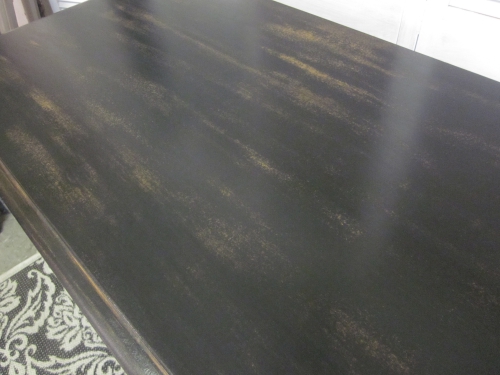
So after applying the stain with a rag to this dresser, I sanded it back to let the warm orange shades of the wood pop through. Then a second coat of the Polyshades stain was applied.
The depth of colors showing through from the distressing is so convincing that you’re encouraged to walk up to the dresser and run your hand over it only to find a smooth satin finish. I still do this every time I walk by this dresser.

The black distressed dresser was missing a few of it’s antique brass handles, but the few that are left have such an unusual shape, they’re worth saving. I’m scouring Ebay for a match, otherwise I may use some very small coordinating pulls as a complement.
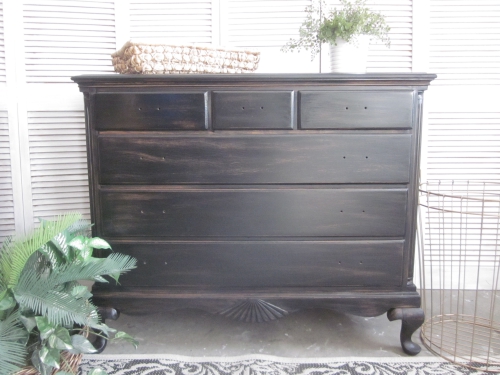
This distressed black dresser is for sale in my Shop.
Note: This post contains affiliate links to products I love and would use myself.


So pretty! I just love your black dreser. Thanks for sharing, Cynthia
Thank you Cynthia. I’m looking forward to re-creating the look on another piece. It really was a classic, timeless finish.
What a lovely dresser. I am always drawn to the dark colors that add drama and focus to any room. And your dresser is no exception.
Me too. I have a similar dresser in stock I’m thinking of giving it the exact same finish I loved it so much!
So glad I came across this post! I’m about to try poly-shades and everywhere I look it says to apply with the brush but I prefer to apply my stains with a rag and even rub-on poly is my preferred product! Happy to know that I can do the same with poly-shades! Yeah! Thank you for this post and the dresser looks perfect!
I learned after a few terrible mishaps never to apply stain (especially Polyshades) with a brush. Applying with a rag is so much better. This dresser was one I actually refinished over a year ago. Here’s the link to one that I just refinished with polyshades in the past few weeks: https://entriways.com/2018/07/06/black-distressed-pottery-barn-finish/
Applying with a rag means you’ll get less sheen. Remember to stir the can frequently throughout the project because the poly seems to settle at the bottom of the can. And you may need a few coats to bring it up to a sheen. Or you can do what I did with this more recent dresser and apply a wax topcoat. This worked really well and gave the dresser a buttery soft finish.
Thinning the stain and urethane. And using an expenaive brush will result in a bubbleless finish
I’m getting ready to refinish some tables an this helped me determine which product to use to create my desired look. Thank you.
I’m so glad it helped. Here’s similar dresser I refinished with the stain. Another refinishing option… I didn’t sand it back after the first coat. Wax was the final topcoat. https://entriways.com/2018/07/06/black-distressed-pottery-barn-finish/
Beautiful! How did you prep the piece prior to applying the polyshades?
Thanks so much!
Mistee
I completely sanded it down, then stained it.
My polyshade doesn’t say anything about wiping after applying. I’ve had so much issues with it and now I’m.wondering maybe its because it should have been wiped each time. I sanded in between coats but it still wouldn’t stick right after first coat. I’m not sure why it doesn’t say to wipe but I was really frustrated.
Janet, I believe the Polyshades can says to apply with a brush which was exactly what I did the very first time i used it and which resulted in tons of air bubbles. Once you sand between coats, the stain will not adhere the same way because of the poly in it. Years of experimentation taught me the right way to apply the Polyshades stain which is with a rag so I’m wiping away the air bubbles as it’s applied and not having to sand them off later. Here’s a similar dresser I worked on after I learned this valuable lesson. https://entriways.com/black-distressed-pottery-barn-finish/
Love the dresser! After you applied the first coat of poly shades, what grit sandpaper did you use to sand back the poly? Thanks!
Thank you Caryn. I most most likely used an 80-grit to cut thru the poly and show the wood underneath because that’s usually what I have in my stockpile. Maybe start with 120-grit and see how that does.
Hi Vicki! I love this look! Did you sand it first?
Yes I sanded the dresser first, then applied the polyshades, then sanded that back.