Have you ever purchased new factory-finish furniture from a furniture store and noticed how incredibly smooth and durable the finish is? The original sprayed-on paint from the factory can be wiped clean for years and holds up really well even against growing kids. But what do you do if one of those kids loves nail polish, makeup, paint, and glitter and it gets on that factory-finish? Let’s talk about how to refinish a painted factory-finish desk.
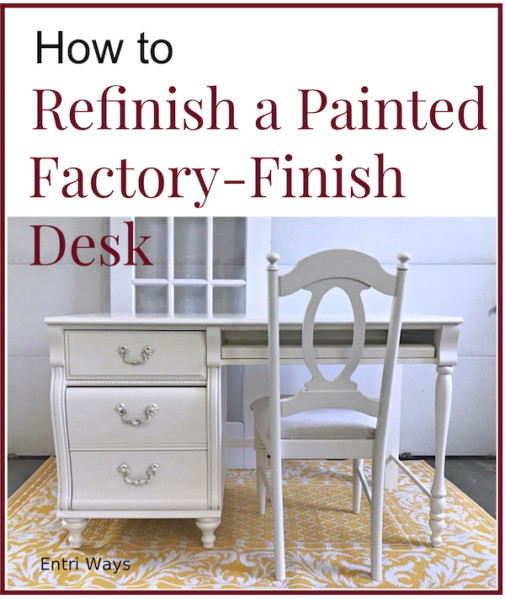
This desk set came from my cousin, Sharon and previously from her sister, Michelle. That means it also lasted through their two teenage girls.
Most of the finish on this set was in near perfect condition and would have been fine with a good cleaning. The desk top, on the other hand, was different story. It needed some work. It was covered with every color of the rainbow – which is a great testament to how much this teenager actually used this gorgeous piece of furniture.
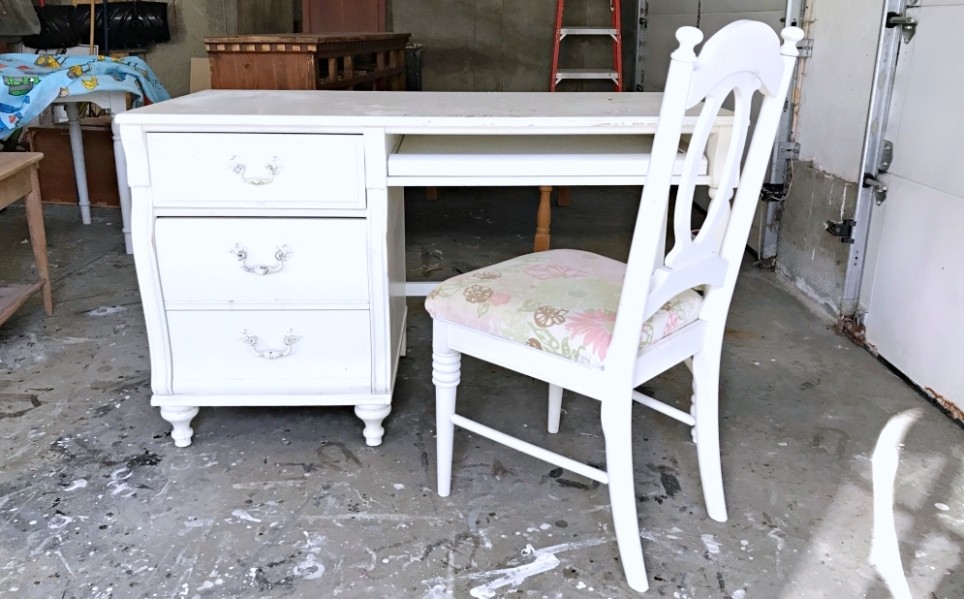
Step 1: Wash
The thing about factory paint finishes is that they are such smooth, durable finishes, they can usually be wiped clean with dish soap and water. Dawn dish soap will cut through dirt and oil on the surface.
If you need something a bit stronger, use TSP or Krud Kutter along with a cotton rag (aka: old t-shirt) to wipe the surface clean.
Finally, a Mr. Clean Magic Eraser will remove tougher smudge marks, magic marker, and even some paint marks on the surface without harming the factory-finish. Unfortunately, the eraser still won’t cut through the enamel nail polish. Continue to Step 2 for that.

Step 2: Very Lightly Sand
Now that the surface is wiped clean, you can really see the debris that’s left behind (i.e. glitter, nail polish) and know exactly which parts of the furniture require some light sanding.
Using 100-grit or higher sand paper, very light sand off the nail polish and other marks. Only sand until these are removed and try not to sand through the factory paint.
Note: It’s best to keep the integrity of the factory-finish in tact and to only sand the small areas that really need sanding.
There may be a few marks that you’re not able to fully sand off and that leave a lighter dark mark behind. We’ll take care of that in Step 3.

Step 3: Prime
Vacuum the sanding dust then wipe the surface with a damp rag to remove any remaining dust. I could see that there were a few dark marks on the desk and a few on the hutch so I brushed on BIN primer only over these spots.
BIN is a shellac-based primer that blocks bleed through. A regular stain-blocking primer is not guaranteed to cover the dark spots and will still likely bleed through, so I recommend the BIN primer.

Step 4: Paint
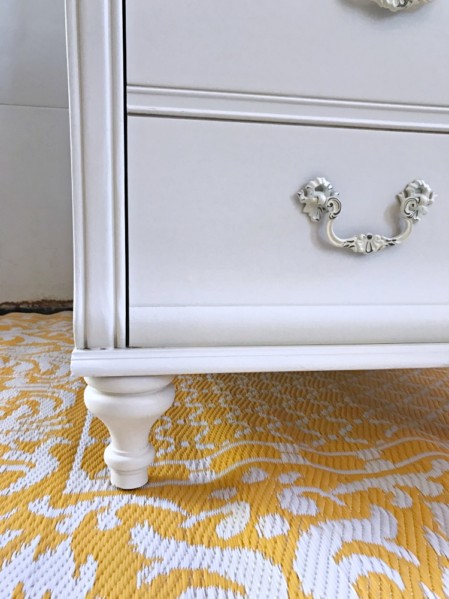
With the exception of the desk top that needs quite a bit of sanding, hutch, chair, and body of the desk were all in excellent condition once it was cleaned. But, I like to refresh the entire paint finish before sending furniture to its new home, so I removed the drawer hardware and began to paint.
General Finish Antique White Milk Paint was the exact color of the factor finish. I mixed just a small amount of water into the paint to thin it out and brushed it on in two very thin coats.
Tip: Apply very little paint to your brush. You should only have paint on the bottom 1/8-1/4 of your paint brush.
Step 5: Protect
Milk paint does not require a top coat, but it is a flat finish paint so I prefer to add a protective clear coat. Doing so will keep the new finish as close as possible to the factory finish.
A flat water-based poly will get you the closest in sheen to the original factory finish. A flat finish is also the most forgiving. You won’t see brush marks or missed application spots like you will with a higher sheen of the clear.
I applied the water-based flat to the desk, hutch, and chair. Allow to dry for 24. Then for a little extra protection on the desk top, I brushed on a low-lustre water-based poly. You can also use a satin sheen, but I would avoid semi-gloss or gloss unless you really want it to shine.
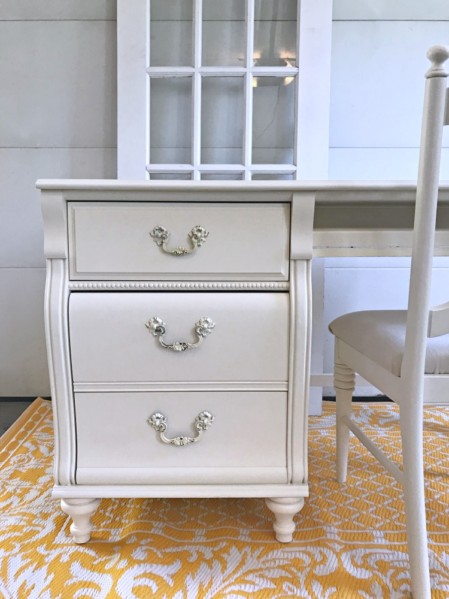
The final thing I did to update this set was to change out the chair cover with a neutral fabric.
To do this, flip the chair over and remove the four screws holding the seat on. Remove the old fabric. Cut a new piece of fabric that overlaps the chair seat by about 4-5 inches – enough so that the fabric wraps around the seat. Then using a staple gun like THIS one, staple the seat fabric into place.
I have two favorite (inexpensive yet durable) fabrics I use on chairs. The first is denim. The second is drop cloth canvas. You can purchase large large sheets of drop cloth canvas at your local hardware store. You can find it on Amazon HERE.
Tip: Purchase the heavy duty drop cloth canvas (10 oz). The 8 oz is a little thin and shows through when stretched.
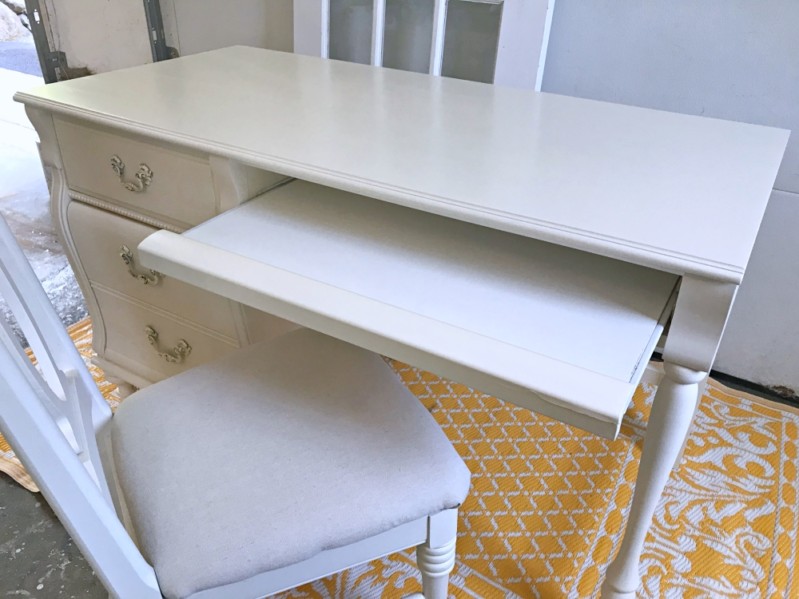
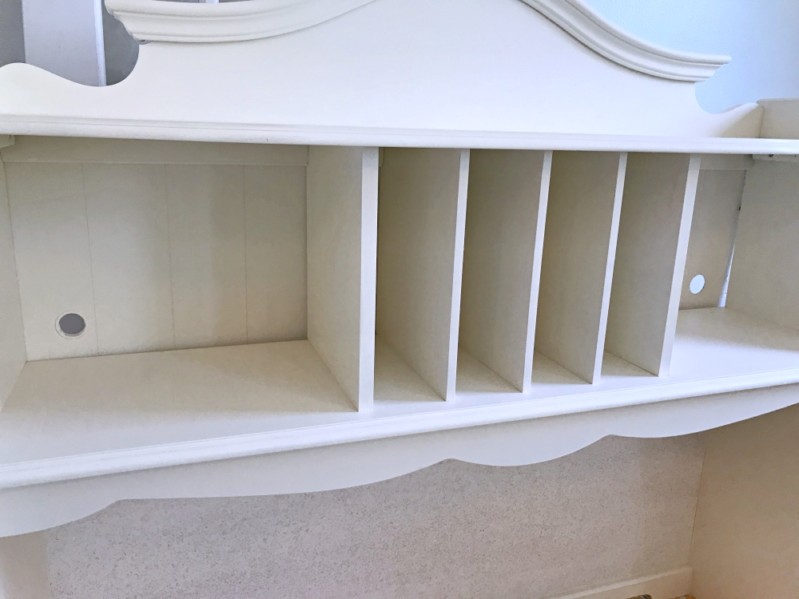

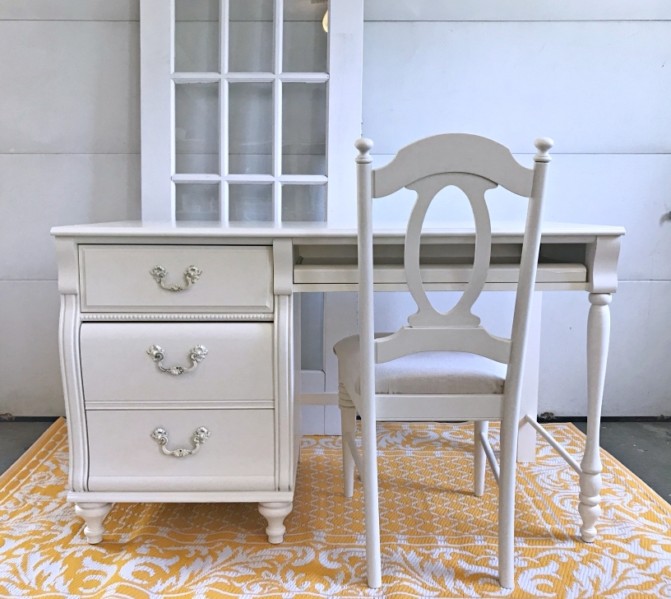
This desk, hutch, and chair is now available in Entri Ways’ online shop.
Disclosure: This post contains affiliate links to products I use myself.




This blog provides an incredibly practical guide to refinishing a painted factory-finish desk! The step-by-step instructions are easy to follow, making it perfect for DIY enthusiasts. A must-read for anyone looking to revive their furniture with a professional touch.