Has your dining room table taken a beating over the years? Particular those years when your kids were (or maybe still are) little. They color, cut, glue, and paint and your tabletop may show every masterpiece from those little hands. Not to worry though. There’s hope. See the transformation made on this solid oak dining table.
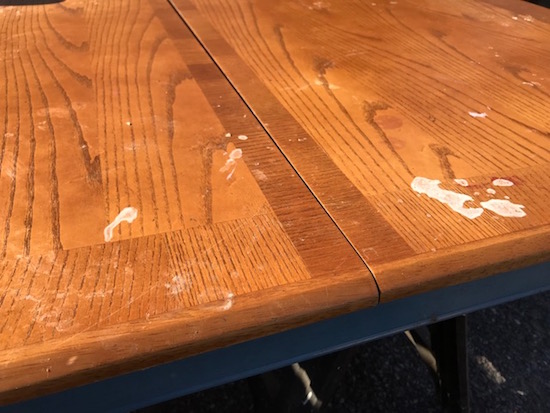
I purchased this solid oak table on CraigsList several months ago for $20. By the look of it, the owner was either a crafter and used this table as her workbench or she had a few small, artistic children. Either way, it was well-loved from years of activity.
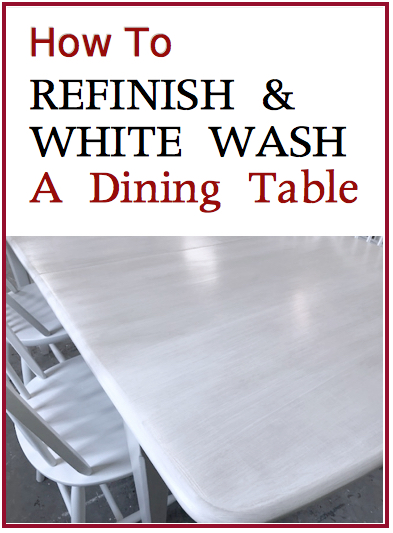
Refinish & White Wash a Dining Room Table
Sand
If your table looks like the one above with a worn out finish and scratches, then begin by setting your table outside, put on your P100 vapor mask, plug in your electric rotary sander with 60-grit sandpaper, and get to work sanding.
Continue sanding until the old finish is fully removed down to the bare wood.
If there are scratches, carefully sand them out. Proceed with caution though. If you sand too much in one area, it could create a divot in the wood.
Apply Layers of Stain
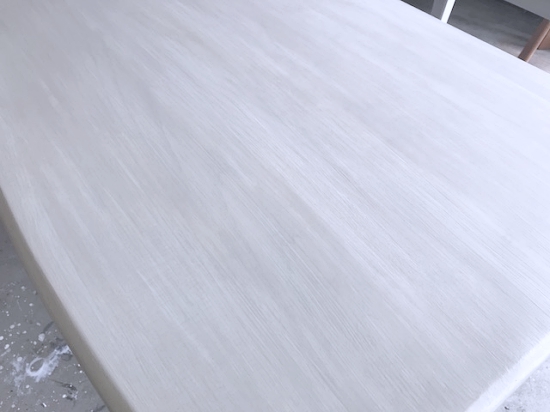
Using a clean cotton rag, apply water-based white wash stain. Fold the cotton rag so you’re working with a rather flat surface, then dip it into the stain. Wipe the stain onto the table in the direction of the wood grain, working from one edge of the table to the other in even swipes. Let dry for at least an hour and then apply a second coat of stain. Let dry overnight and then repeat with 1-2 more coats the following day until you’ve reached the desired color.
Apply a Protective Clear-Coat
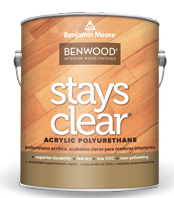
At this point, the table may be white enough for your preference. If so, brush on a protective, non-yellowing clear coat like Benjamin Moore’s Stays Clear or Minwax Polycrylic. A matte sheen will give you more of a farmhouse look, but the low lustre sheen will provide more protection. The higher the sheen, the greater the protection.
Allow the clear coat to dry overnight, and apply a second coat the following day. For tabletops, I usually apply 3-4 coats.
Apply a Very Thin Layer of Paint
In the case of this table, I painted the base in an enamel paint similar to the color Revere Pewter. It’s a really nice, neutral, warm gray. The added bonus is that Revere Pewter is very popular right now, so using this color should increase demand and allow it to sell sooner.
After applying the first clear coat, I took a small amount of the paint used on the base and diluted it 50% with water. Using the same technique when applying stain, I washed on a very small amount of the watered-down paint.
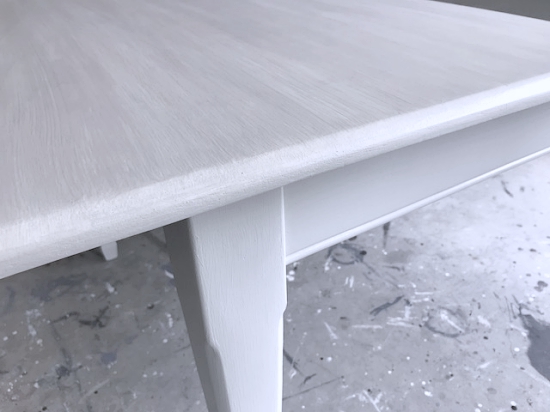
Very, very little paint was actually applied to the tabletop and it was just enough to blend the color of the top with the base.
Once you’ve achieved the preferred color, finish with 2-3 more applications of the clear topcoat.
Looking for more? Join Entri Ways’ email list and get access to our library of free ebooks. We’re adding new ones all the time! Click the image to subscribe.
The Result…
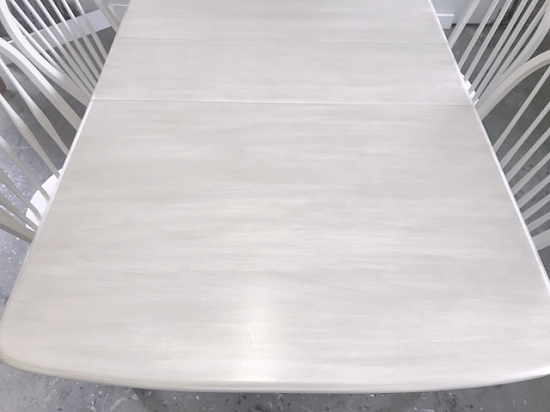
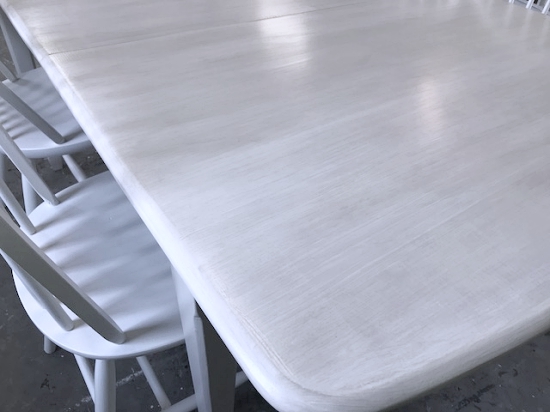
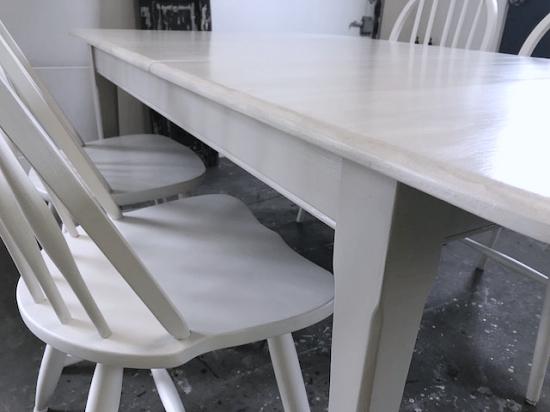
The result is a table with layers of white and warm gray tones blending together.
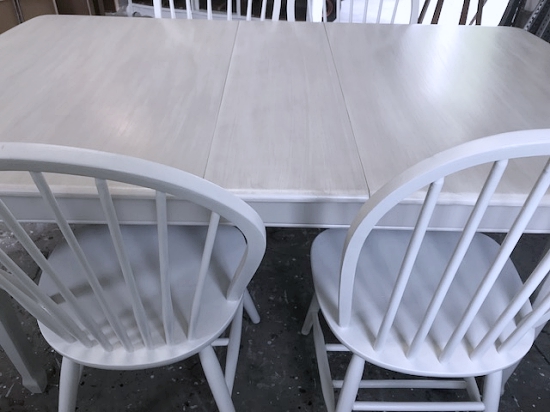
The base of the table was actually a custom mix of khaki, gray, and white enamel paints which is very close to Revere Pewter. The photo may look like a black and white because the colors are all neutral, but trust me… the blends perfectly with both the warm gray base and the white chairs.
The four chairs were actually picked up at different times. So while they all have a similar style, if you were to examine them side by side, they don’t match perfectly – a design often found around farmhouse tables.
This table and set of four chairs is now for sale in Entri Ways’ online shop.
Disclosure: This posts contains affiliate links to products I use myself and love.









Leave a Reply