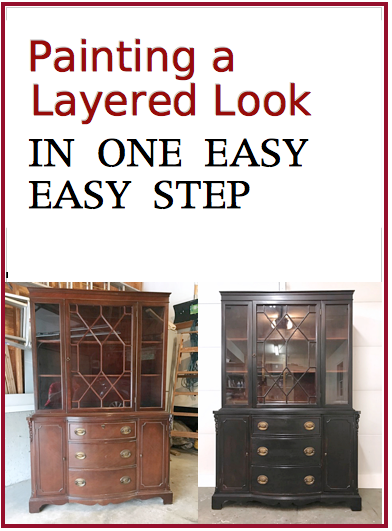
Painting a layered look doesn’t have to mean three different types of paint, two different grit sandpapers, and a topcoat that seals it all in. Paint finishes like that also mean that one small knick or scratch and touch-up is nearly impossible. There’s an easier way. Let’s talk about painting a layered look in one easy step – which also make future touch-ups super easy.
Painting a Layered Look
Do you have a piece of brown-stained furniture that you love, but don’t love the color? Perhaps it’s a bit too brown or a bit too red.
This size is right and it’s a solid wood piece of furniture, so you can’t see getting rid of it; but it bothers you every time you enter the room.
There’s something off. It’s out of place.
Well, let’s paint it.
Let’s first answer a few of your questions:
What type of paint do I use?
I suggest using Benjamin Moore’s enamel paint. Benjamin Moore has a line of DTM (direct-to-metal) paint that sticks to everything I’ve applied it to and stays there! I can’t tell you how many times I’ve painted with Chalk paint and have had it chip off. Needless to say, I rarely use Chalk paint anymore.
Even though the DTM is considered an industrial paint, it can be used on wood and actually has a lower VOC level than most wall paints.
There are some tricks to using this paint though.
The enamel comes in DTM (low lustre) or Impervex (high gloss). The low lustre works fantastic on chairs and table bases, but leaves a chalky mark if you rub your hand over it. Wiping with a damp rag removes the mark. The gloss is better for tabletops and is easier to dust.
For hutches and buffets I prefer the durability of the gloss, but the sheen of the low lustre, so I’ve learned to mix them. Approx. 1/2 low lustre, 1/4 gloss, and 1/4 water. The water thins the paint and makes it easier to smooth out.
Do I need to apply a primer?
If you use Benjamin Moore’s enamel paint and plan to paint a dark color, then you do not need to prime. I’ve found that BM’s enamel has the same adhesive capability as a good primer.
If you plan to paint in a light color like white, then you’ll need to prime with BIN primer – a shellac-based primer that seals in the darker stain color.
Do I need to sand or remove the old finish entirely?
You do not need to remove the old finish prior to painting with Benjamin Moore’s enamel paint. You only need to lightly sand if the finish is very shiny. In the case of this hutch, the original finish was rather dull. There were a few scratches on this hutch, so I did lightly sand those smooth, but in general sanding is not required when using this paint.
Do I need to apply a topcoat?
You do not need to apply a topcoat with BM’s enamel.
Creating the Layered Look
Now that you know the type of paint and how to mix them to achieve the perfect sheen, let’s talk about how to apply the paint.
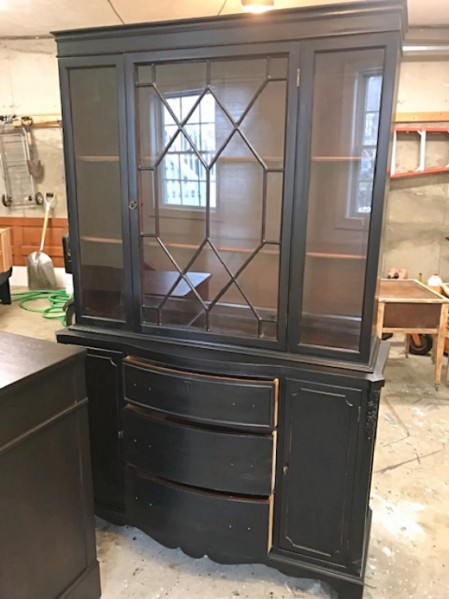
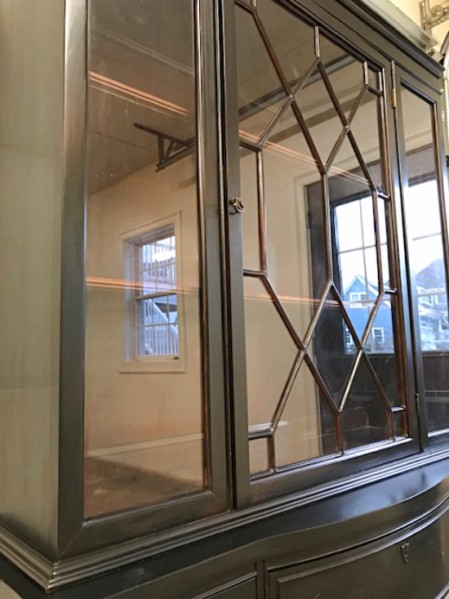
In the case of this hutch, the inside was not being painted. If you look closely at the shelves above, they are right up against the glass and cannot be removed; so painting the edge up against the glass would have been impossible.
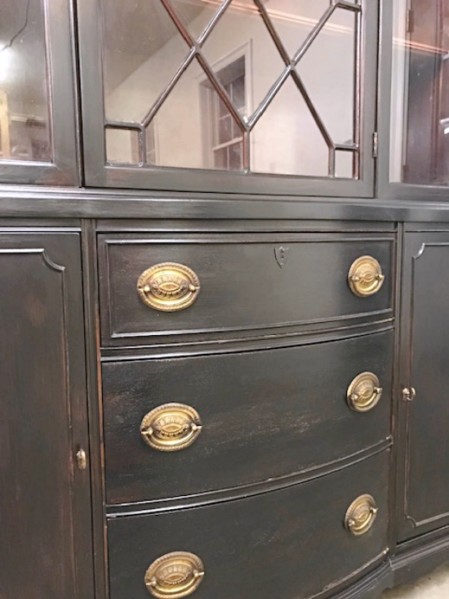
So I decided to go with a layered paint look on the exterior where the mahogany color peeked through the paint and coordinated well with inside.
The watered-down paint mixture should be fairly thin and easy to spread. Apply very little paint to the 1/4 end of a natural bristle brush. You can find my favorite brush on Amazon HERE.
Very light brush on the paint, working small sections and always smoothing the wet edge.
That’s it. One think coat of the paint mixture and you have an entirely new layered paint look.
For the smaller detail on the glass, I used an artist brush and brushed a thin coat of paint there. Since I wanted the stain to show in spots, I didn’t need to get too close to the glass.
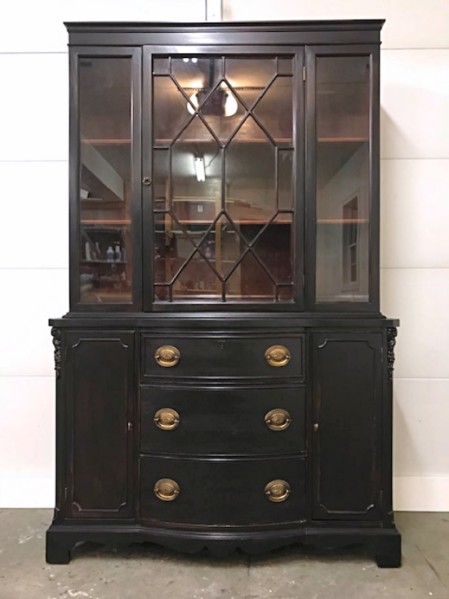
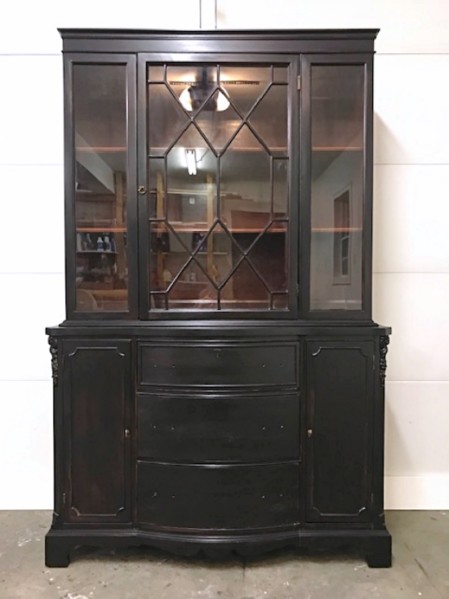
The result is a painted finish that looks like layers of two different color paints and a clear satin topcoat. The hutch now coordinates with the colors in a modern home, yet remains true to the hutch’s original style.
The Hepplewhite pulls are original You can find similar Hepplewhite drawer pulls on Amazon HERE.
Or, here’s a picture without the hardware so you can imagine it with your one of your own choice.
This black hutch is now available in Entri Way’s online Shop.
Disclosure: This post contains affiliate links to products I use myself.




Leave a Reply